
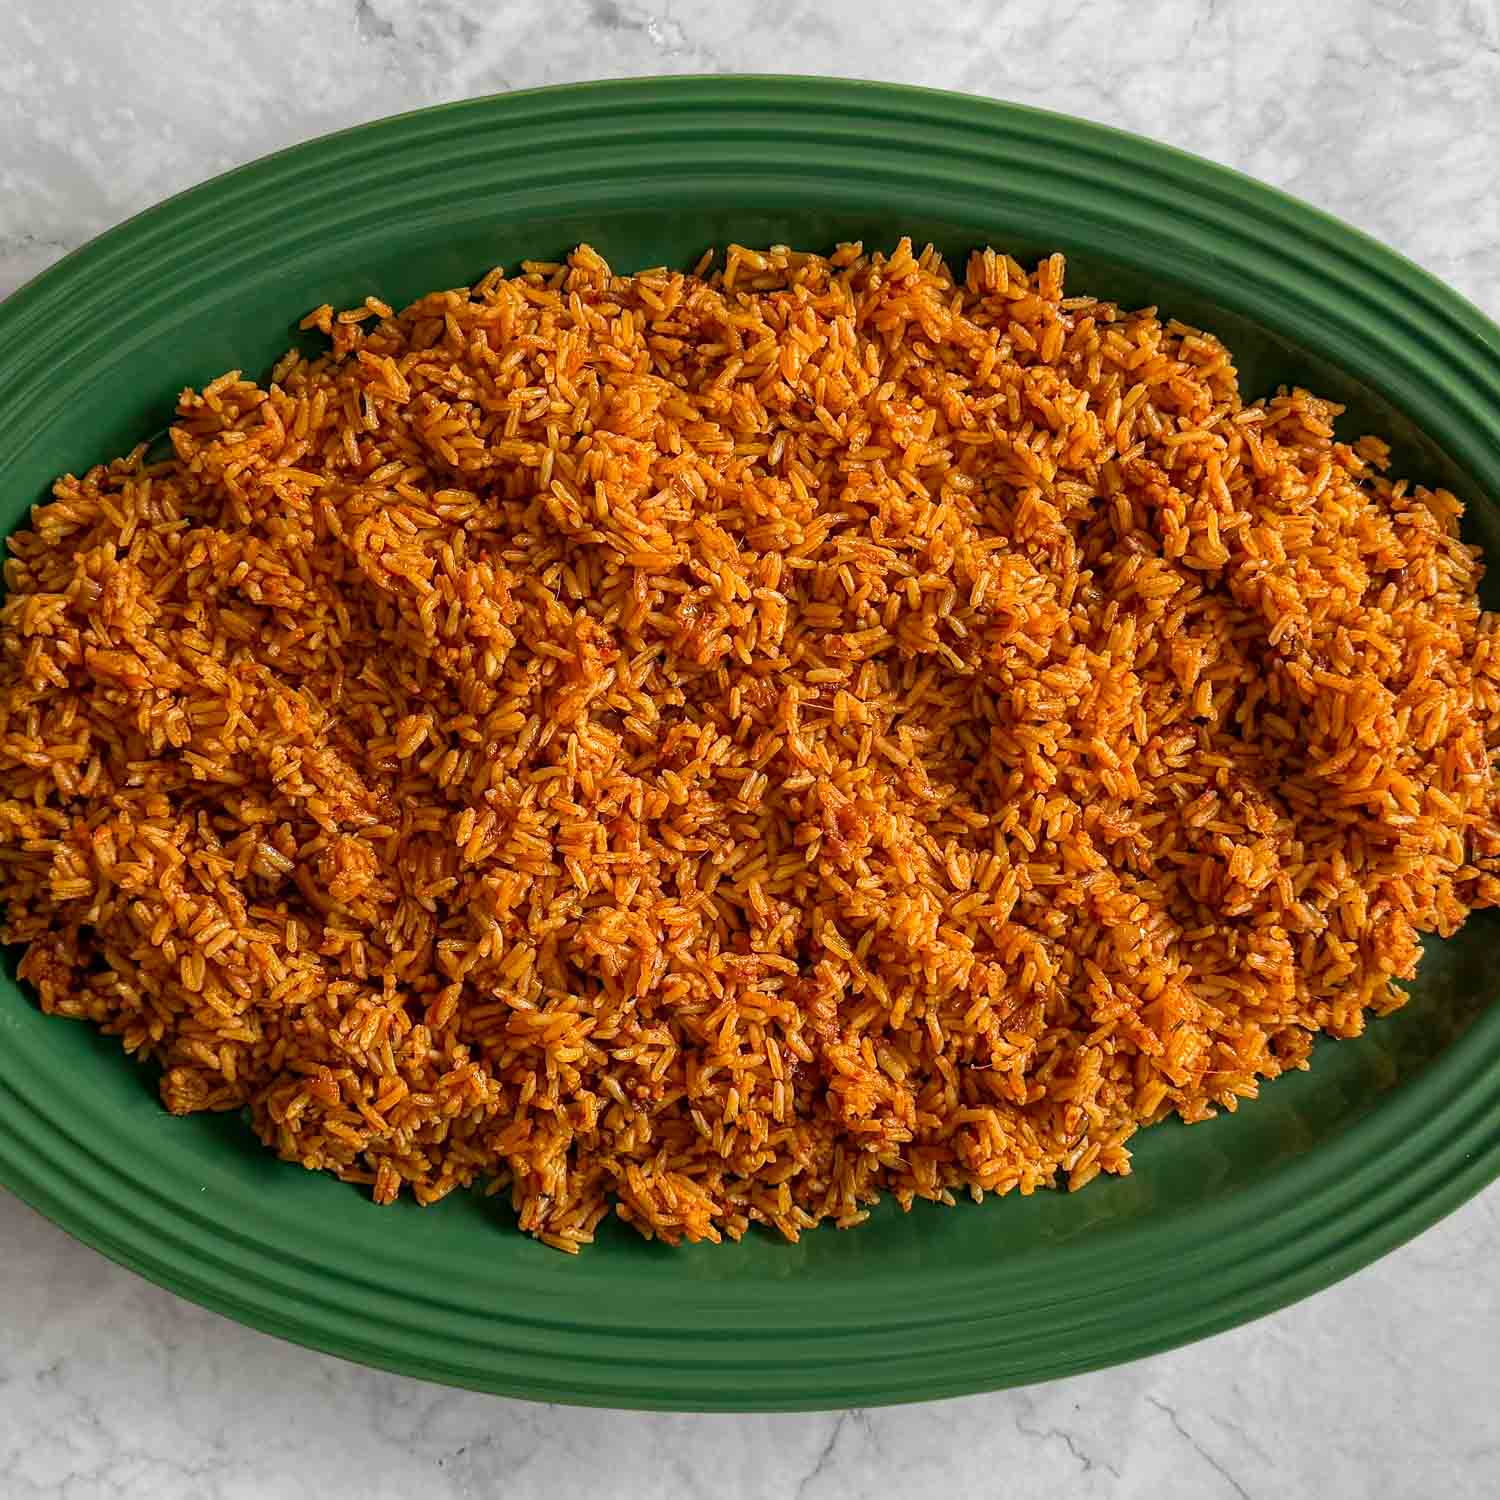
This Oven Baked Jollof Rice is my favourite way to make jollof when I want perfectly fluffy rice without the stress of standing over the hob. It has everything I love about traditional Nigerian Jollof Rice – a rich tomato stew, bold spices and beautifully separate grains of rice – but with a cooking method that’s far more forgiving.
This isn’t a traditional way of making jollof rice, and it’s not trying to be. It’s simply the most reliable method I’ve found after years of recipe testing. If you’ve ever struggled with burnt bottoms, mushy rice or unevenly cooked rice, I think you’re going to love this Oven Baked Jollof Rice recipe.
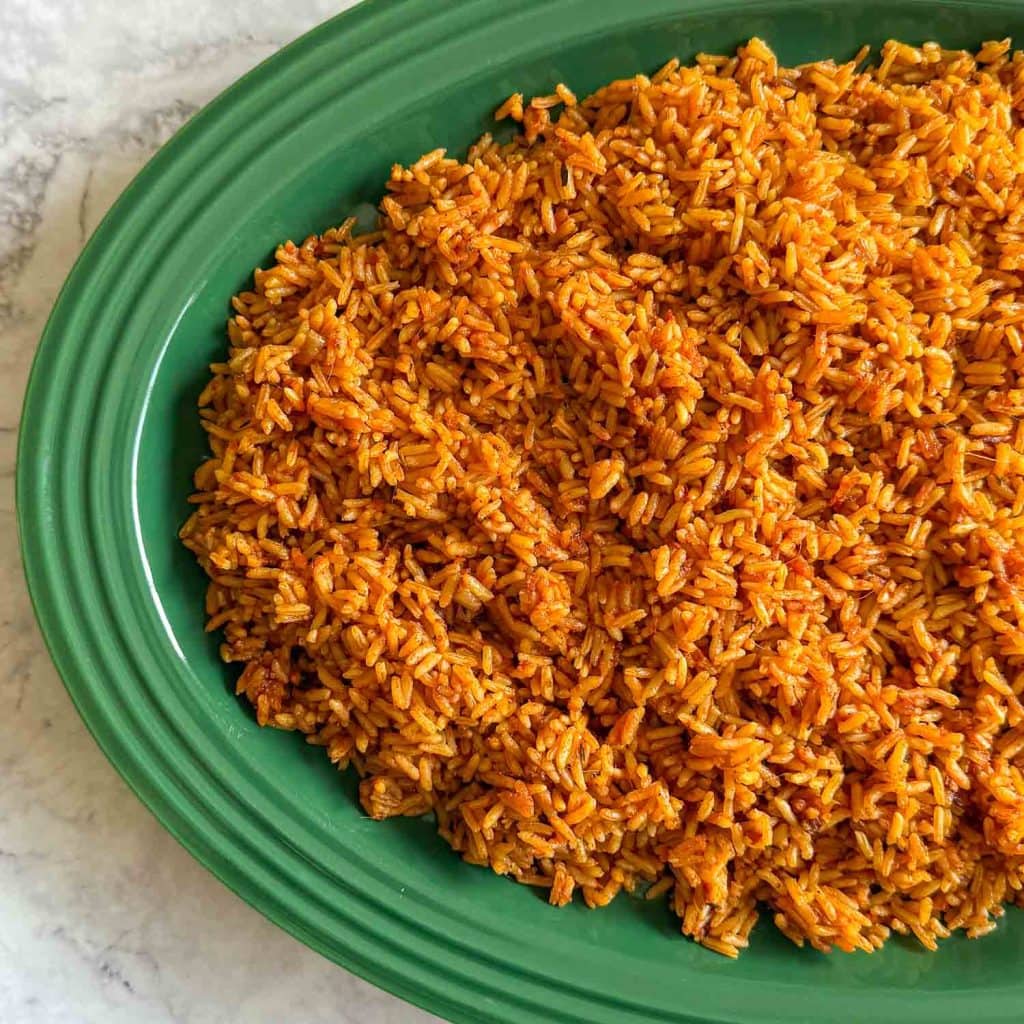
Why You’ll Love This Oven Baked Jollof Rice
- Perfectly fluffy rice, every time. Baking the rice in the oven creates gentle, even heat, making it much easier to achieve beautifully cooked grains.
- Much more forgiving than the stovetop method. No constantly adjusting the heat or worrying about burning the bottom of the pot.
- All the flavour of traditional jollof. The rich tomato stew, warming spices and smoky flavour are still very much at the heart of the recipe.
- Great for feeding a crowd. It’s ideal for family dinners, celebrations and entertaining because the oven does most of the work.
- Packed with practical tips. I’ll explain not just how to make Oven Baked Jollof Rice, but why this method works so well.
Looking for a more traditional recipe?
If you’d rather make jollof rice on the hob, try my Nigerian Jollof Rice (My Mum’s Recipe). It’s the recipe I grew up eating and the one my mum has made for years. This oven baked version follows many of the same flavour principles but uses a much more forgiving cooking method.

The 3 Keys to Great Oven Baked Jollof Rice
The beauty of Oven Baked Jollof Rice is that it removes much of the guesswork from traditional stovetop jollof. A few key techniques still make all the difference.
- Roast the vegetables before blending. Roasting the tomatoes, peppers and onion concentrates their natural sweetness while adding another layer of flavour and smokiness to the finished stew. It also removes excess moisture before the vegetables even reach the pot, helping create a richer, more intensely flavoured base.
- Fry the tomato purée and stew properly. Just like traditional Nigerian Jollof Rice, don’t rush this step. Frying the tomato purée first caramelises its natural sugars and removes any raw flavour, while cooking the blended vegetables until the stew has reduced and the oil begins to separate concentrates the flavours and builds the rich base that defines great jollof rice.
- Bake the rice, don’t boil it. Once the rice goes into the oven, the gentle, even heat allows it to absorb the liquid gradually while steaming beautifully. The result is fluffy, evenly cooked rice with far less risk of burning or ending up undercooked in places.

Choosing the Right Rice for Oven Baked Jollof Rice
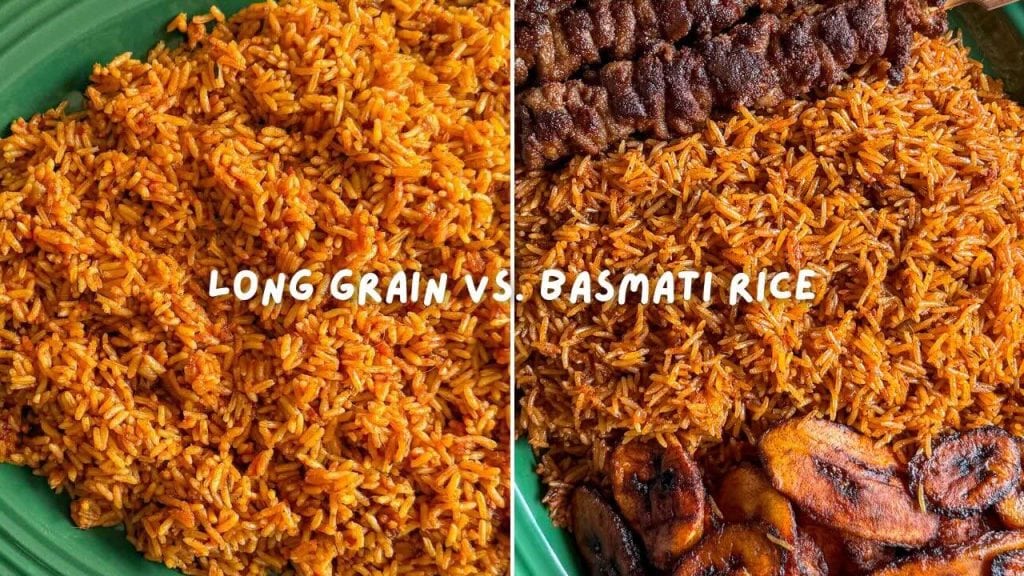
The type of rice you use has one of the biggest impacts on the finished dish. For this Oven Baked Jollof Rice, I generally recommend either Ben’s Original Long Grain Rice or Tilda Golden Sella Basmati Rice. Both give consistently excellent results. Ben’s Original is particularly forgiving and ideal if you’re new to making jollof, while Golden Sella Basmati produces wonderfully fluffy grains with a subtle fragrance that works beautifully with the rich tomato stew.
Whichever variety you choose, it’s important to rinse the rice thoroughly under cold running water until the water runs clear. This removes excess surface starch, helping the grains stay light and separate rather than clumping together as they cook.
Different varieties of rice absorb liquid differently, so cooking times can vary slightly. That’s perfectly normal. Rather than relying solely on the clock, I always encourage checking the rice towards the end of cooking and adjusting as needed.
Why Bake Jollof Rice in the Oven?
Traditional Nigerian Jollof Rice is cooked on the hob, where the heat comes directly from the bottom of the pot. While this produces incredible results in experienced hands, it can also be quite unforgiving. It’s all too easy to end up with rice that’s burnt on the bottom while still undercooked on top.
Baking jollof rice in the oven solves that problem by surrounding the pot with gentle, even heat. Instead of relying on intense direct heat from underneath, the rice cooks more evenly from all sides, giving it plenty of time to absorb the richly flavoured cooking liquid while steaming to perfectly fluffy grains.
That’s why I often recommend this Oven Baked Jollof Rice recipe to anyone making jollof rice for the first time. It delivers all the flavour of traditional jollof but with a method that’s much easier to master.
The Science Behind Oven Baked Jollof Rice
The biggest advantage of Oven Baked Jollof Rice is how evenly it cooks. On the hob, all the heat comes from the bottom of the pot. That means the rice closest to the base cooks much faster than the rice at the top, making it easy to end up with a burnt bottom before the rest of the rice has finished cooking.
In the oven, the pot is surrounded by gentle, consistent heat instead. Rather than boiling rapidly from underneath, the rice cooks gradually as it absorbs the cooking liquid and steams inside the pot. This gives every grain time to cook evenly, resulting in beautifully fluffy rice with far less risk of burning.
A heavy casserole dish or Dutch oven makes this even more reliable, as it retains heat exceptionally well and maintains a steady cooking temperature throughout.

Building Smokiness Without Burning the Rice
One of the defining characteristics of great jollof rice is its subtle smoky flavour. Traditionally, some of that smokiness develops naturally where the rice catches slightly on the bottom of the pot during cooking.
With Oven Baked Jollof Rice, the cooking is much gentler, so you won’t get quite the same effect. Instead, I build that depth of flavour elsewhere in the recipe.
- Roasting the vegetables before blending intensifies their natural sweetness while adding lightly caramelised, smoky notes.
- Frying the tomato purée until it darkens slightly develops a richer, deeper tomato flavour.
- Cooking the stew until the oil begins to separate concentrates the flavours before the rice is added.
Together, these techniques create the rich, savoury depth that makes Oven Baked Jollof Rice so satisfying, without relying on burnt rice for flavour.

What to Serve with Oven Baked Jollof Rice
Although this Oven Baked Jollof Rice is hearty enough to enjoy on its own, it’s even better served alongside some classic Nigerian dishes. Whether you’re putting together a weeknight dinner or a celebratory spread, here are some of my favourite pairings.
- Nigerian Beef Suya – Smoky, spicy skewered beef is a classic pairing and one of my favourite things to serve with jollof rice.
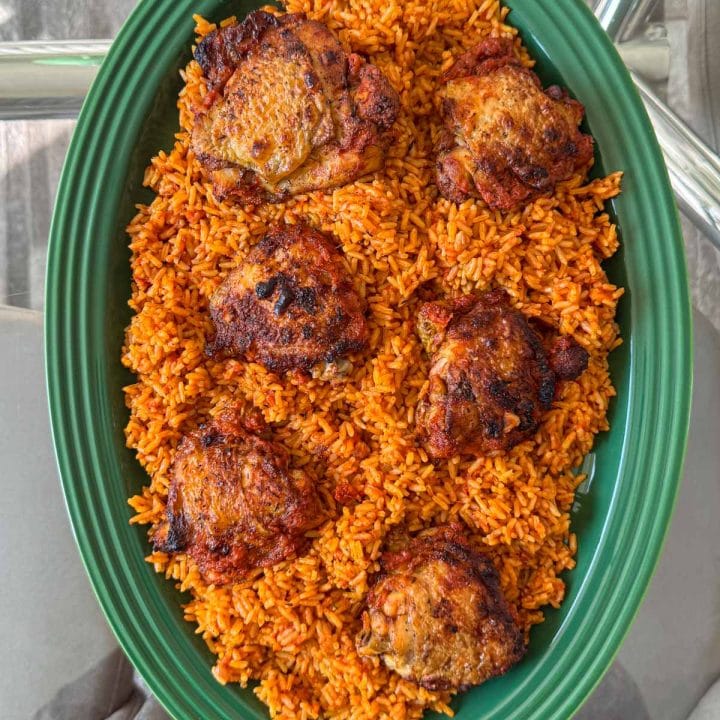
- Nigerian Grilled Chicken – You can’t go wrong with juicy chicken alongside a generous helping of jollof.
- Fried plantain (dodo) – Sweet, caramelised plantain is the perfect contrast to the rich, savoury rice.
- A simple salad or coleslaw – Something fresh and crunchy helps balance the richness of the tomato stew.
Making Oven Baked Jollof Rice Ahead of Time
One of the things I love most about Oven Baked Jollof Rice is how well it lends itself to making ahead. Depending on how far in advance you’re planning, there are a few different ways to get ahead.
- The roasted tomato stew base: Once you’ve roasted the vegetables, blended them and cooked the stew until it has reduced and the oil begins to separate, allow it to cool completely before refrigerating for up to 4 days or freezing for up to 3 months. When you’re ready to cook, simply continue with the recipe from the point where the spices, stock and rice are added.
- The finished cooking liquid: You can also prepare the recipe right up to the point before the rice goes into the oven. Once cooled, refrigerate for up to 3 days or freeze for up to 3 months. Reheat gently before adding the rice and baking as directed.
- The finished Oven Baked Jollof Rice: The fully cooked dish keeps well in the fridge for up to 3 days and reheats beautifully until piping hot. You can freeze it for up to 3 months, though I personally find freezing softens the texture slightly, so I much prefer freezing the stew base instead.

Frequently Asked Questions
Can I use basmati rice instead of long-grain rice?
Absolutely. In fact, Tilda Golden Sella Basmati Rice is one of my favourite choices for this recipe because it cooks into beautifully fluffy, separate grains. If you’re using long-grain rice, Ben’s Original is my preferred option.
Can I make Oven Baked Jollof Rice without a Dutch oven?
Yes. Any heavy oven-safe casserole dish with a tight-fitting lid will work well. The important thing is that it retains heat and traps steam while the rice cooks.
Why is my rice still undercooked?
Different varieties of rice absorb liquid at different rates. If the rice needs a little longer, simply add a splash of hot water if the pot looks dry, replace the lid and return it to the oven until the rice is tender.
Can I freeze Oven Baked Jollof Rice?
Yes, although I personally think it’s at its best fresh or refrigerated for a couple of days. Freezing tends to soften the texture slightly, which is why I usually freeze the stew base instead.
More Nigerian Recipes You’ll Love
If you enjoyed this Oven Baked Jollof Rice, here are a few more Nigerian recipes I think you’ll love:
- Nigerian Jollof Rice (My Mum’s Recipe) – My family’s traditional stovetop jollof recipe, passed down from my mum and packed with rich, smoky flavour.
- One-Pot Jollof Rice & Chicken – Everything you love about jollof rice, cooked together with juicy chicken in one pot for an easy weeknight dinner.
- Nigerian Beef Suya – Smoky, spicy skewered beef that’s one of my favourite things to serve alongside jollof rice.
- Plantain Puff Puff – A delicious twist on the West African classic, made with ripe plantain for extra sweetness.
- Ayamase (Designer Stew) – A rich, deeply savoury Nigerian stew that’s perfect served with rice.
Oven-Baked Jollof Rice

Jollof rice is a West African staple consisting of rice cooked in a delicious, flavour-packed and often spicy tomato sauce. Though it seems simple enough to make, it’s actually pretty difficult to nail. From burning your jollof and making it bitter, to accidentally turning the rice to mush, there are so many things that can go wrong. Oven baking jollof rice isn’t traditional by any means. That said, it’s the most foolproof method I’ve found for nailing jollof rice every single time.
- Prep Time: 20 minutes
- Total Time: 2 hours
- Yield: 8 with leftovers 1x
Ingredients
For the stew base:
- 4 medium vine tomatoes, halved and deseeded
- 1 red bell pepper, cut into large chunks
- 1 onion, cut into large chunks
- 1 red scotch bonnet chilli, stem removed (see Notes)
- 1 tbsp vegetable oil (or any neutral oil)
- 15g fresh ginger, peeled and roughly chopped
- 1 tsp fine sea salt
For the jollof rice:
- 600g parboiled long-grain rice (I use Ben’s Original) or high-quality basmati rice (e.g. Golden Sella Basmati Rice)
- 150ml vegetable oil (or any neutral oil)
- 1 onion, finely chopped
- 60g double concentrated tomato purée
- 1 tbsp curry powder (mild, medium or hot, as preferred)
- 1 tbsp dried thyme
- 3 chicken or vegetable stock cubes
- 2 dried bay leaves
- 600ml boiling water
Instructions
- Heat your oven to 220℃ / fan 200℃.
- Place the tomatoes, red bell pepper, onion and scotch bonnet on a medium roasting tin. Add the vegetable oil, toss to coat. Roast for 25 to 30 minutes, or until the vegetables are softened and charred at the edges.
- Leave to cool for 10 minutes and turn the oven down to 180℃ / fan 160℃.
- Transfer the roasted vegetables to a blender. Add the fresh ginger and salt and blitz until smooth. Set aside.
- Thoroughly wash the long-grain rice with cold water until the water runs clear, then drain. Please don’t rush this step. The goal is to remove as much of the starch as possible, which is what is going to give you separate, non-sticky cooked grains of rice. Leave to drain in a sieve until ready to use.
- Heat the vegetable oil in a large Dutch oven set over a medium heat. Add the onion and cook, stirring occasionally, until softened and beginning to brown, 6 to 8 minutes.
- Add the double concentrated tomato purée and cook, stirring frequently, until it begins to darken, 3 to 5 minutes.
- Add the blended stew, stir to combine, partially cover the pot with the lid and bring to a simmer. Cook, stirring occasionally, until the oil separates from the stew, around 5 minutes.
- Add the curry powder and dried thyme and cook, stirring almost constantly for 1 minute, then add the stock cubes, bay leaves and water. Whisk well to dissolve the stock cubes.
- Add the washed and drained rice and stir to combine. Taste and adjust the salt level to your liking – the liquid should be well-seasoned.
- Once the rice begins to gurgle, cover with the lid and transfer the Dutch oven to the oven. Bake for 45 minutes.
- If you don’t have a Dutch oven, transfer the contents of the pot to a large, deep roasting tin. Add an extra 50ml of boiling water, cover very tightly with 3 layers of foil and bake for 45 minutes.
- Remove the pot from the oven and leave it covered for 15 minutes – the steam will finish cooking the rice.
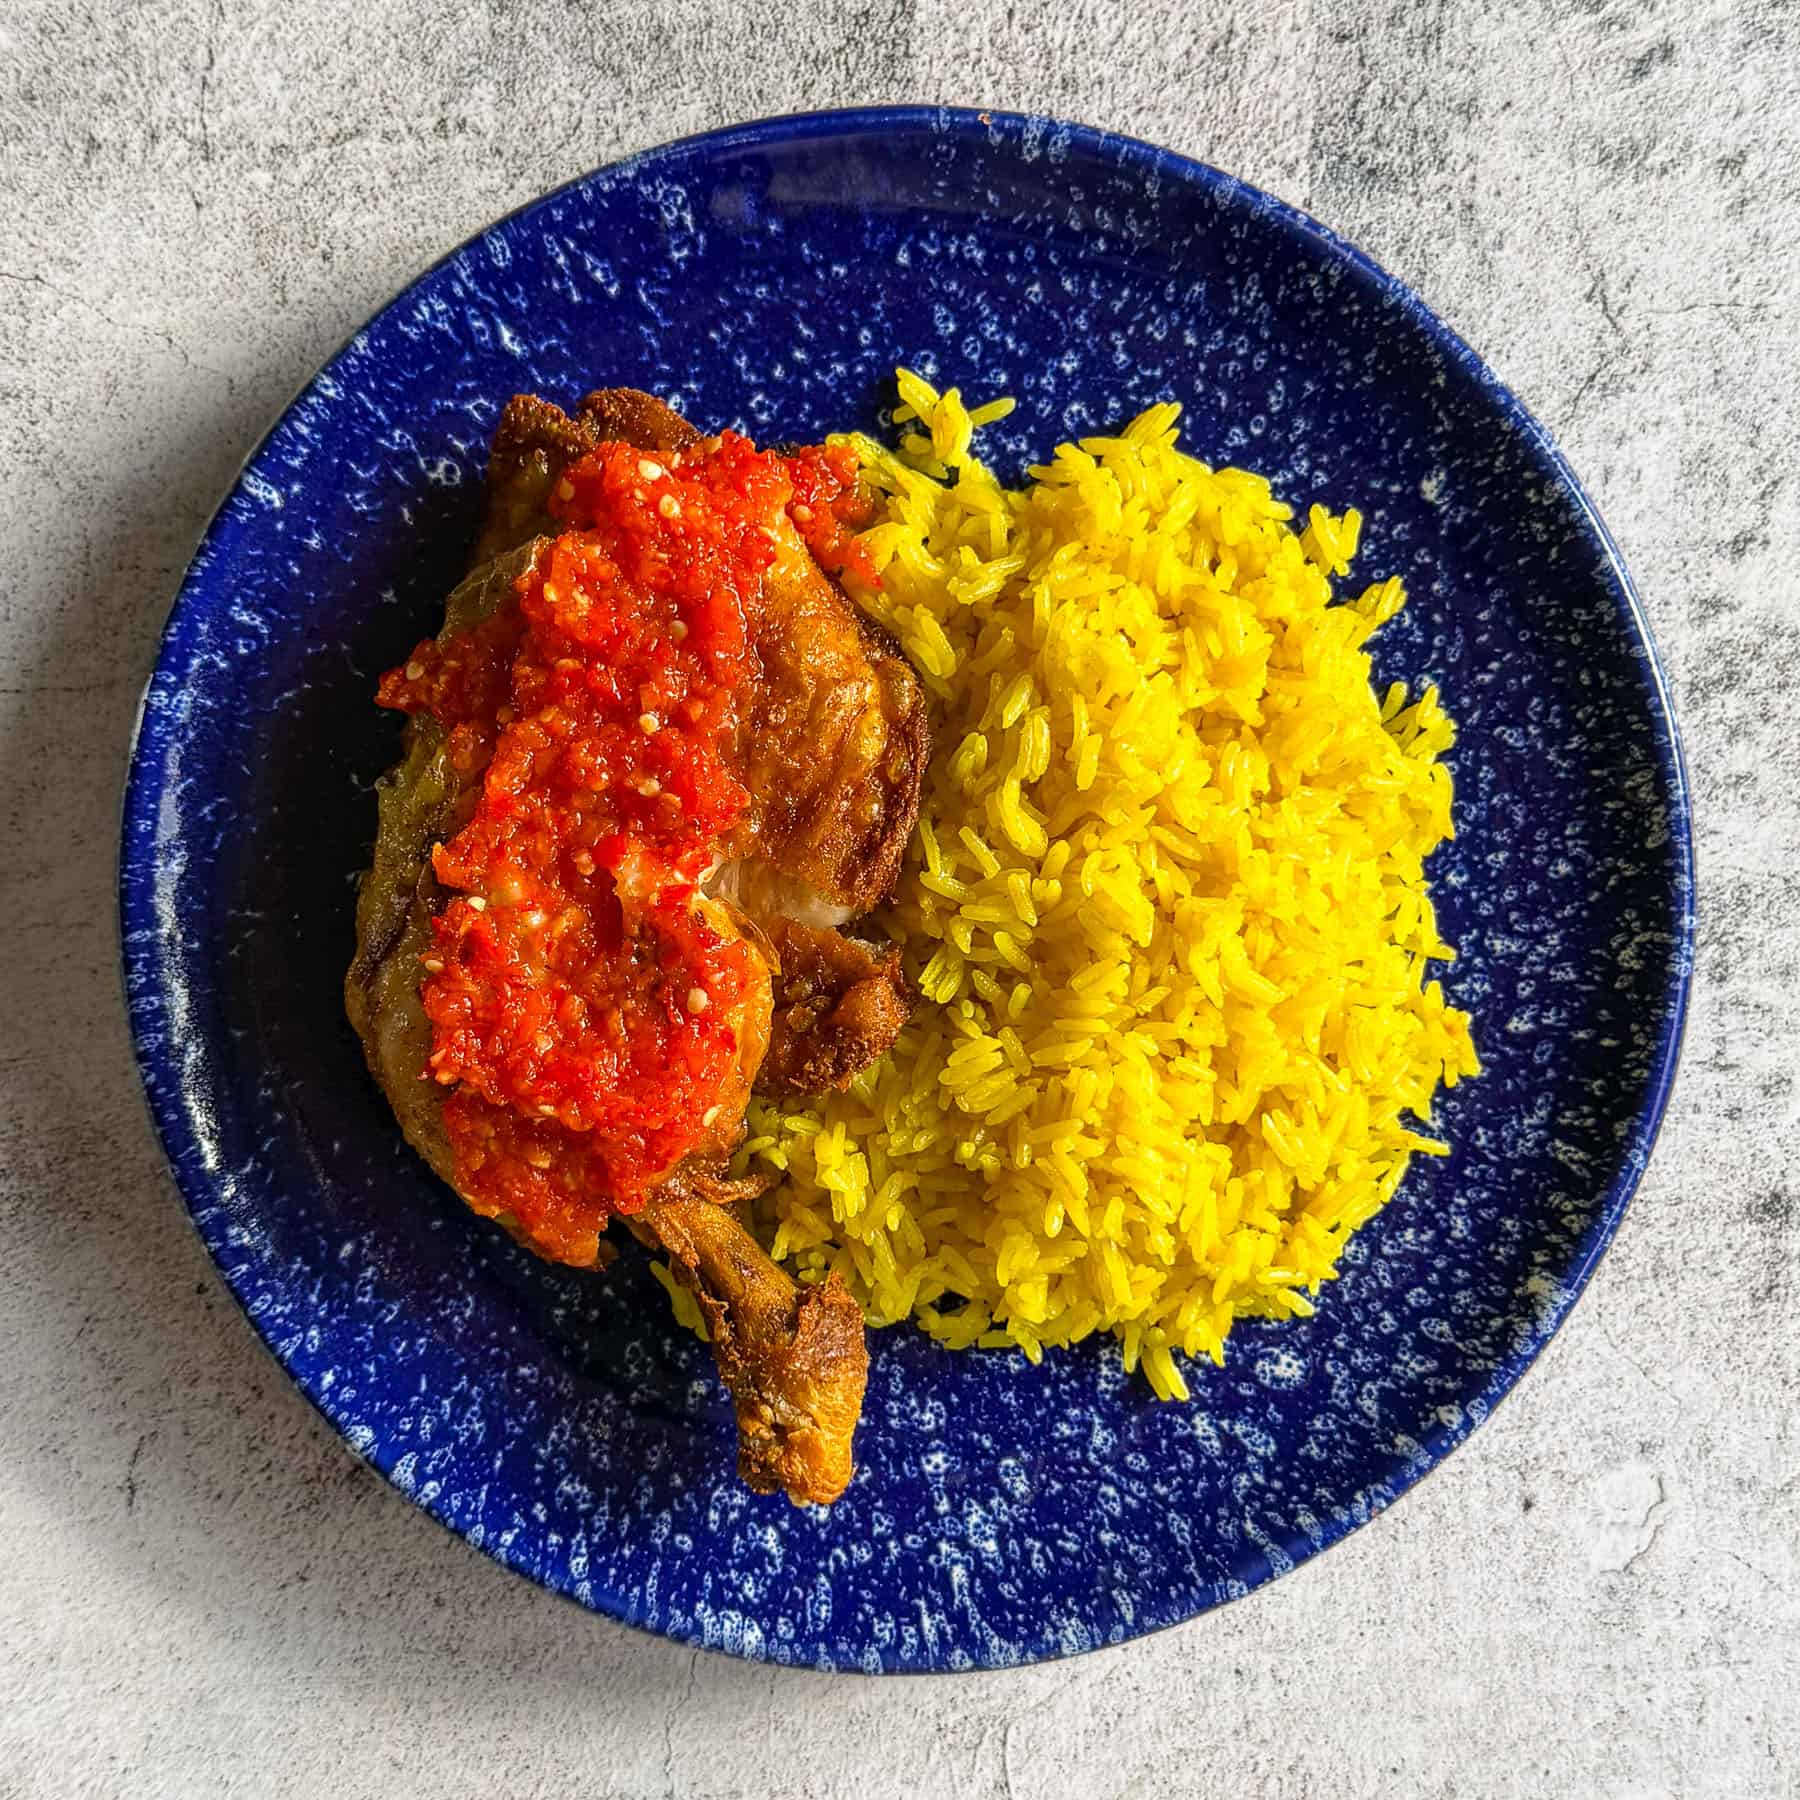
- Remove the bay leaves, give the rice a stir and you’re ready to serve, preferably with grilled chicken and fried plantain – enjoy!
Notes
I generally use 2 scotch bonnets, which yields what I would call a spicy jollof rice. For a mild jollof rice, use ½. For a medium jollof rice, use 1. For a blow-your-head-off spicy jollof rice, use 3 or more (at your own risk!)
Oven-Baked Jollof Rice
Jollof rice is a West African staple consisting of rice cooked in a delicious, flavour-packed and often spicy tomato sauce. Though it seems simple enough to make, it’s actually pretty difficult to nail. From burning your jollof and making it bitter, to accidentally turning the rice to mush, there are so many things that can go wrong. Oven baking jollof rice isn’t traditional by any means. That said, it’s the most foolproof method I’ve found for nailing jollof rice every single time.
- Prep Time: 20 minutes
- Total Time: 2 hours
- Yield: 8 with leftovers 1x
Ingredients
For the stew base:
- 4 medium vine tomatoes, halved and deseeded
- 1 red bell pepper, cut into large chunks
- 1 onion, cut into large chunks
- 1 red scotch bonnet chilli, stem removed (see Notes)
- 1 tbsp vegetable oil (or any neutral oil)
- 15g fresh ginger, peeled and roughly chopped
- 1 tsp fine sea salt
For the jollof rice:
- 600g parboiled long-grain rice (I use Ben’s Original) or high-quality basmati rice (e.g. Golden Sella Basmati Rice)
- 150ml vegetable oil (or any neutral oil)
- 1 onion, finely chopped
- 60g double concentrated tomato purée
- 1 tbsp curry powder (mild, medium or hot, as preferred)
- 1 tbsp dried thyme
- 3 chicken or vegetable stock cubes
- 2 dried bay leaves
- 600ml boiling water
Instructions
- Heat your oven to 220℃ / fan 200℃.
- Place the tomatoes, red bell pepper, onion and scotch bonnet on a medium roasting tin. Add the vegetable oil, toss to coat. Roast for 25 to 30 minutes, or until the vegetables are softened and charred at the edges.
- Leave to cool for 10 minutes and turn the oven down to 180℃ / fan 160℃.
- Transfer the roasted vegetables to a blender. Add the fresh ginger and salt and blitz until smooth. Set aside.
- Thoroughly wash the long-grain rice with cold water until the water runs clear, then drain. Please don’t rush this step. The goal is to remove as much of the starch as possible, which is what is going to give you separate, non-sticky cooked grains of rice. Leave to drain in a sieve until ready to use.
- Heat the vegetable oil in a large Dutch oven set over a medium heat. Add the onion and cook, stirring occasionally, until softened and beginning to brown, 6 to 8 minutes.
- Add the double concentrated tomato purée and cook, stirring frequently, until it begins to darken, 3 to 5 minutes.
- Add the blended stew, stir to combine, partially cover the pot with the lid and bring to a simmer. Cook, stirring occasionally, until the oil separates from the stew, around 5 minutes.
- Add the curry powder and dried thyme and cook, stirring almost constantly for 1 minute, then add the stock cubes, bay leaves and water. Whisk well to dissolve the stock cubes.
- Add the washed and drained rice and stir to combine. Taste and adjust the salt level to your liking – the liquid should be well-seasoned.
- Once the rice begins to gurgle, cover with the lid and transfer the Dutch oven to the oven. Bake for 45 minutes.
- If you don’t have a Dutch oven, transfer the contents of the pot to a large, deep roasting tin. Add an extra 50ml of boiling water, cover very tightly with 3 layers of foil and bake for 45 minutes.
- Remove the pot from the oven and leave it covered for 15 minutes – the steam will finish cooking the rice.
- Remove the bay leaves, give the rice a stir and you’re ready to serve, preferably with grilled chicken and fried plantain – enjoy!
Notes
I generally use 2 scotch bonnets, which yields what I would call a spicy jollof rice. For a mild jollof rice, use ½. For a medium jollof rice, use 1. For a blow-your-head-off spicy jollof rice, use 3 or more (at your own risk!)




57 responses
this was really delicious! unfortunately i was unable to find scotch bonnet at the grocery store and had to use habanero but that still worked well.
had coleslaw and chicken on the side and really enjoyed this meal. thanks for sharing it!
It’s my absolute pleasure! I’m so glad you enjoyed it 🙂
I got the red habaneros from the farmers market
Hey, I want to try this! I have a quick question…. Once the stew and oil has separated, am I spooning off the oil? Or is the separation just a point of “heads up, I’m ready, time for the next step”?
It’s the latter – a heads up! Though you can spoon some off if you’d like!
Awesome, thanks!
Made this and added some spot prawns. Delicious!
Oooh love the sound of that!
Delicious, only change I made was searing chicken before cooking onions and then adding it after the rice begins to boil before putting it in the oven. To accommodate the chicken soaking up some of the water I added an extra 100-150ml of water. Comes out perfect everytime!
Sounds delicious! I do that sometimes too 🙂
Can I ask at what point the 600ml water is added?
In Step 9, along with the stock cubes and bay leaves 🙂
Oops missed that, thank you! Excellent recipe!
My pleasure! Thank you for kind words 🙂
Is there any change to cooking time if you use regular (non-parboiled) rice?
I’ve not tested it with non-parboiled rice but to be honest, most supermarket long grain rice is parboiled, even if it doesn’t explicitly say so on the packaging. If you’re absolutely sure it it’s parboiled, I’d add 10 minutes to the oven time 🙂
Fantastic recipe!
So easy and tastes delicious
Thank you so much! I’m so glad you enjoyed it 🙂
OMG 😊 seems easier that my unsuccessful attempts at jollof rice. Love your presentation style. I saved this recipe to try later. Thank you!
Thank you so much! I hope it’s a great success when you do 🙂
In the process of making this right now! Will report back!
Love it love it love it! Thank you so much for the recipe! Everyone go make it, come on!
Thank you so much for the positive feedback! It’s greatly appreciated 🙂
Is the double concentrated tomato purée the same as tomato paste?
No, double concentrated tomato purée is more concentrated than regular tomato paste 🙂
What heat level did you use for baking the rice?
180C / fan 160C. It’s mentioned in step 3 but it might be worth me mentioning it in step 11 too!
The best rice I’ve even eaten. Received so many compliments over this recipe. Will definitely be a staple in my household now.
This means so much, thank you 🙂 I’m so glad you all enjoyed it!
Great recipe!!! The instructions are very easy to follow. I appreciate you sharing your culture with a renewed twist. My kids love it. Thank you.
Thank you so much! It’s my absolute pleasure 🙂
This is officially my go-to jollof recipe because it comes out perfect every single time! Thank you Zena!!
Yay! I’m so happy to hear it!
I’ve been looking for a Jollof rice recipe and this one was so easy to prepare and follow. My other inspiration was I also love spicy food and I have a Nigerian uncle by marriage! I’m very familiar with this rice and wanted to try it. I used brown rice 😋🤩
I’m so happy to hear it! Also, great to know that it works with brown rice 🙂
Hi! 3rd time making this tan favorite. I’m doing a 2x portion. Do I adjust the oven time at all or keep everything the same?
Hi! So sorry I missed this. When I double the recipe I normally add 5 to 10 minutes to the bake time, but also some of the stove steps take a little longer too (cooking the onions, darkening the tomato paste, etc) 🙂
I rarely (if at all) leave comments or reviews on recipes that I’ve tried. This one I HAVE TO LEAVE A 5/5 REVIEW. The instructions were clear and easy to follow. This is my first time attempting to make jollof rice and omg I can definitely say that I’ll be remaking this again. My parents and partner went in for seconds! I wish I can post a picture/video of my results cause a review is not enough! 🥹
Aww bless you! Thank you SO much for taking the time to leave this review! I’m so, so happy it was a success and that you’ll be remaking it again 🙂
This recipe was SOOOOO delicious!! I served it with baked tofu, and a Nigerian Stew with fried plantains! Very delicious!
Yay, I’m so glad you enjoyed it!
Thank you SO much for this recipe. I have attempted jollof and failed many times before. This was the first time I got it right and it came out nearly perfect. It was a little darker than yours but the flavor and texture was AMAZING!
It’s my absolute pleasure! I’m so glad it turned out well! 🙂
Can this be made ahead (night before)? If so how would you recommend reheating it?
Yes, absolutely! I normally just heat it in the microwave until piping hot 🙂
Hi. Can I do earlier (3-4 hours) steps from 1-9, and then after break steps 10 to the end? Or do whole recipe and hold in oven in 40 C or maybe heat in other way? I have a party and want to prepare earlier, not in front of the guests.
Hi! I’m so sorry I missed this! For next time, yes absolutely – you can do steps 1-9 ahead of time, then do the rest (i.e. add the rice and bake) about an hour before you intend to serve 🙂
So excited to try this recipe!😍 I was looking to use about 400g of easy cook long grain rice, would I need to adjust the measurements of the other ingredients?
Yes, you would. Ratio is really important to make sure the rice doesn’t go mushy 🙂
I added small chunks
Of chopped leg of lamb from the roast we had the day before, nom, nom, nom! 😋
So glad you enjoyed it!
Lovely easy to follow recipe and absolutely fool proof even for fools! My only small gripe is the notes about the chilli’s! One scotch bonnet to me isn’t medium and now my rice is very spicy LOL. (Next time I will adjust it to half) other than that fabulous!
Ah I’m so sorry about that! I suppose that any kind of scale is very relative 🙈
Damn damn damn, this rice was perfect and so well seasoned without me adding anything else than what listed for the ingredients. I used parboiled basmati rice. Wow. So delicious. I used one scotch bonnet and it was the perfect amount of hotness except for my oldies (parents) so maybe next time I ll skip the pepper. My rice was so tasty, beautiful and grainy/fluffy. Thanks for this perfect recipe.
It’s my absolute pleasure! I’m so glad it went down well 🙂
This was absolutely delicious! I have always failed at stove top Jollof, but this worked perfectly for me! I even removed some of the stewing liquid to freeze (without measuring) because I didn’t want to make so much rice, and it turned out amazing!
Thank you!
Yaaay, I’m so happy to hear it! It’s my pleasure 🙂