This Panettone Tiramisu might just be the ultimate Christmas dessert! I don’t know about you, but I hate Christmas pudding. With a passion. The dense texture, the overwhelming sweetness, the brandy soaked theatrics — it’s a big no from me. But no Christmas feast is complete without dessert. Enter this show-stopping Panettone Tiramisu. It’s rich, festive and ridiculously simple to make. Whether you’re hosting Christmas dinner or pulling together something special for guests, this no-fuss, make-ahead dessert ticks all the boxes.
Table of Contents
- Ingredient Breakdown
- Why Panettone Makes This Tiramisu So Special
- This Freeform Tiramisu is a Showstopper
- Tips for Perfect Panettone Tiramisu Layers
- Getting the Mascarpone Filling Just Right
- Assembly: Layer by Layer
- This Panettone Tiramisu is the Perfect Make-Ahead Dessert
- Why This Panettone Tiramisu Deserves a Spot at your Christmas Table
- Festive Recipes for Hosting Christmas
Ingredient Breakdown
- Instant coffee granules: The foundation of panettone tiramisu’s signature flavour. Use a quality brand for a smooth, aromatic brew.
- Boiling water: Dissolves the coffee perfectly, avoiding any bitter granules in the final dish.
- Mascarpone: Creamy and slightly tangy, it creates the luxurious filling that holds the tiramisu together.
- Double cream: Whipped with the mascarpone, it adds richness and stability.
- Caster sugar: Sweetens the filling without overpowering the other flavours.
- Vanilla bean paste: Brings warmth and depth to the mascarpone mixture. The specks of vanilla also add a touch of sophistication.
- Panettone: The star of the show. I used a chocolate and hazelnut panettone because those flavours paid well with coffee, but any variety will do!
- Shaved dark chocolate: Finishes the tiramisu with a hint of bitterness and a little elegance.
Why Panettone Makes This Tiramisu So Special
Panettone is the quintessential Christmas treat: light, airy, and full of character. Its delicate crumb absorbs just the right amount of coffee, making it an excellent alternative to the traditional ladyfinger biscuits used in tiramisu. Plus, the subtle sweetness of panettone allows the mascarpone filling to shine without feeling overly rich.
For this Panettone Tiramisu, I opted for a chocolate and hazelnut version, which I got from Sainsbury’s, but most supermarkets will stock some kind of chocolate panettone. It adds a touch of decadence to every bite and pairs really nicely with the coffee flavour. The flecks of chocolate and roasted hazelnuts bring texture and balance. If you prefer something more classic, a fruit-studded panettone would work just as well, lending bursts of candied citrus and raisins for a nostalgic twist.
This Freeform Tiramisu is a Showstopper
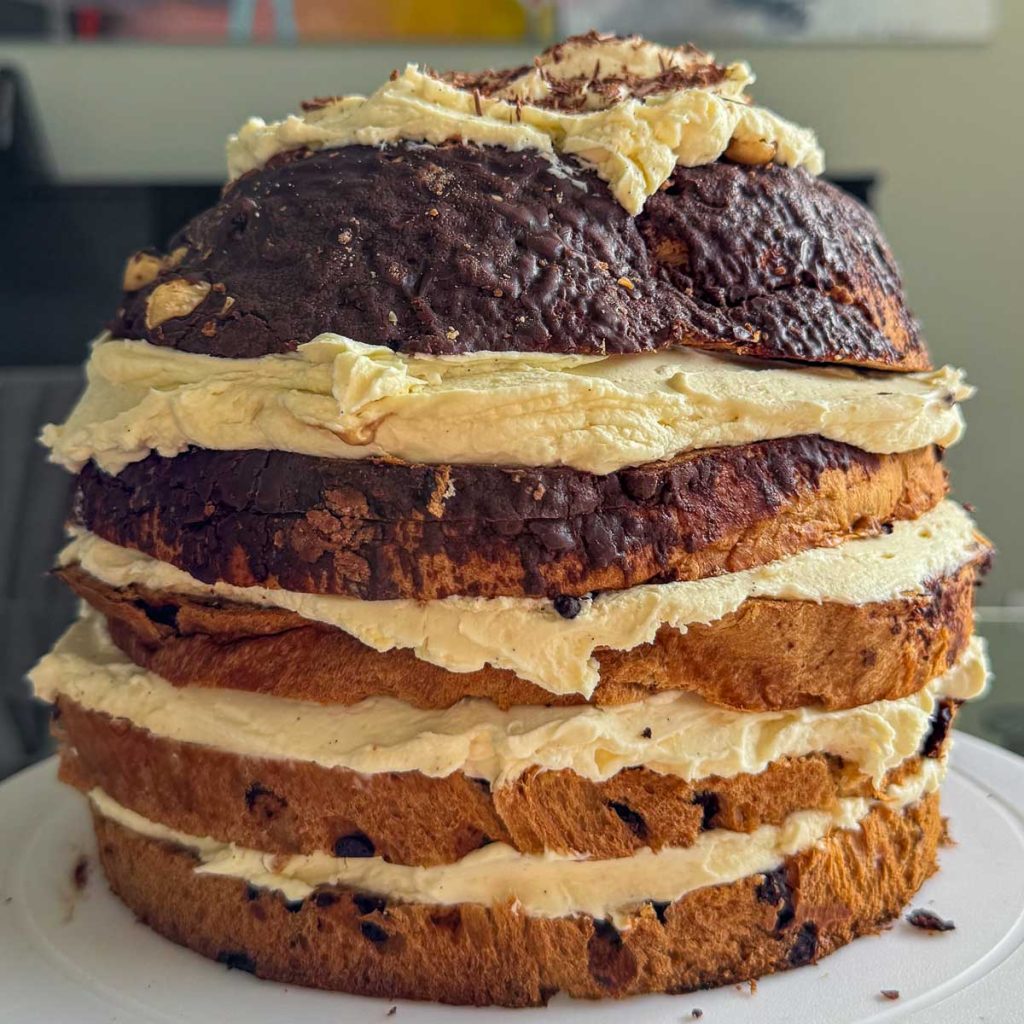
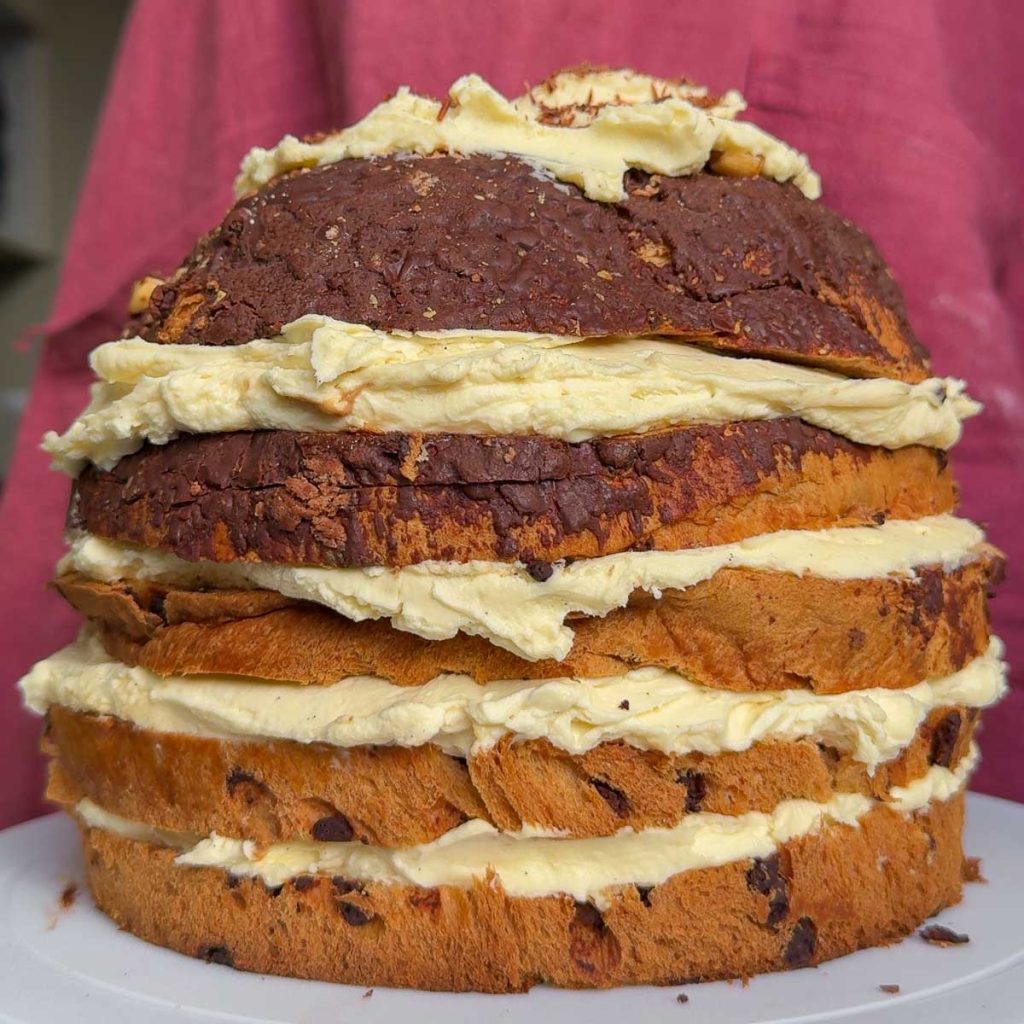
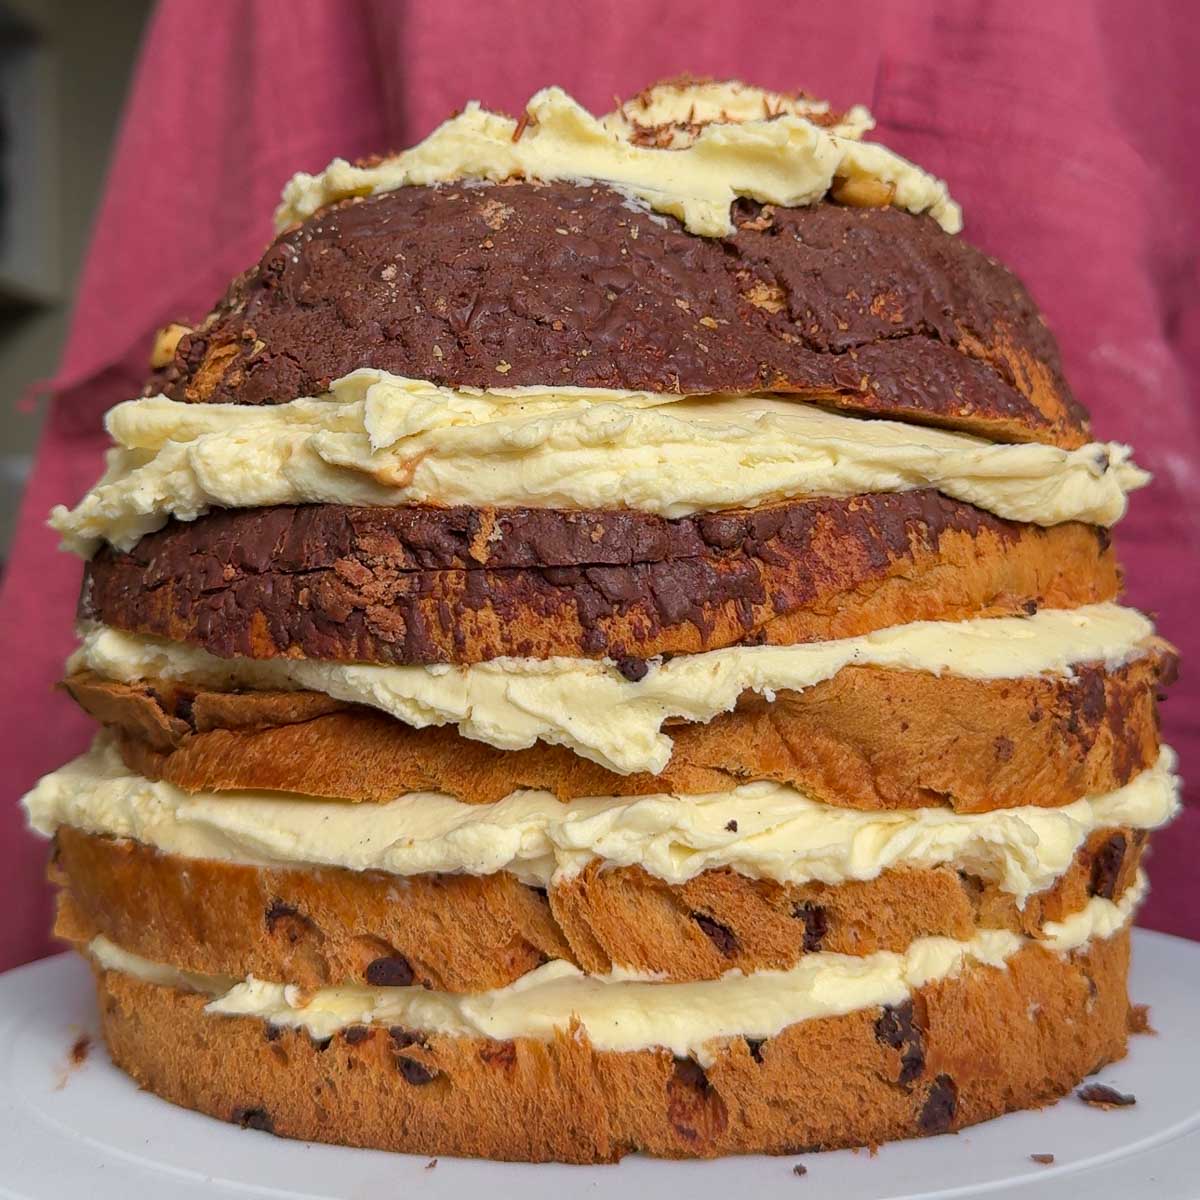
Traditional tiramisu is often layered in a dish, but this freeform version is built on a serving plate, with the domed shape of the panettone doing all the work. This approach not only makes for an impressive presentation but also simplifies the process. There’s no need to cut into neat squares or worry about portions. Just grab a serrated knife, slice into those layers, and watch everyone dig in.
Whether you’re serving it as the centrepiece for a big family gathering or as a showstopper at an intimate dinner party, this Panettone Tiramisu is sure to be a hit!

Tips for Perfect Panettone Tiramisu Layers
Slicing a panettone horizontally can feel intimidating, but it’s surprisingly straightforward with the right technique. Start by scoring the sides with a serrated knife to mark where each layer will sit. This guide ensures your cuts are even, which is crucial for keeping the tiramisu stable.
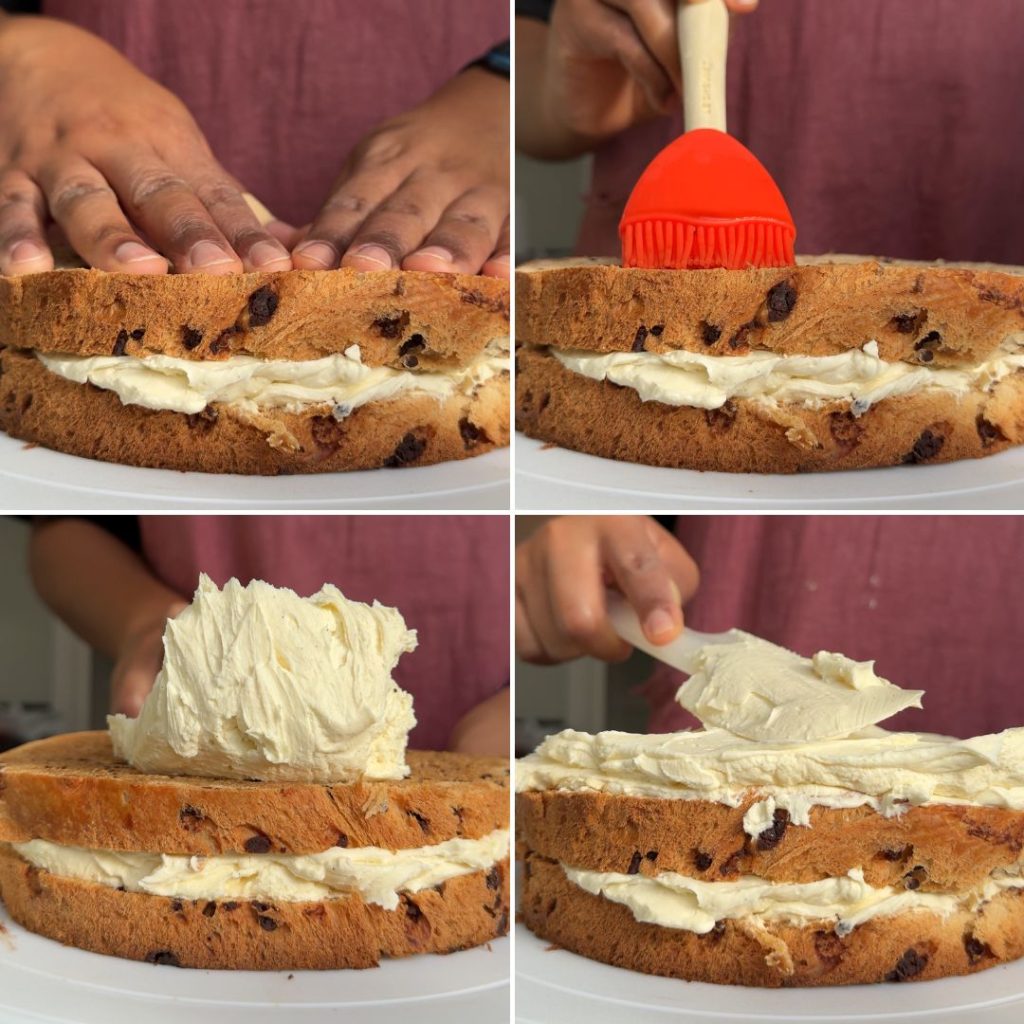
When brushing the layers with coffee, aim for even coverage without drenching the bread. You want each layer to feel moist but not soggy. The coffee should complement the mascarpone filling, not overpower it. The top layer, being thicker, can handle a bit more coffee—don’t be shy with this one.

Getting the Mascarpone Filling Just Right
The mascarpone filling is the heart of this tiramisu, and its texture makes or breaks this Panettone Tiramisu. You’re aiming for a thick, whipped consistency that’s sturdy enough to hold its shape yet light enough to melt in the mouth. Here’s how I get it right every time:
- Use a stand mixer on medium speed to prevent over-whipping. Over-whipped cream can split, and that’s not the look we’re going for.
- Stop as soon as the mixture reaches stiff peaks. You want it to feel thick and luxurious without looking grainy.
- Don’t skimp on the vanilla bean paste. It’s not just for flavour; those tiny flecks add visual charm that elevates the dish.
Assembly: Layer by Layer
Building the Panettone Tiramisu is the fun part. Each step brings the dessert closer to that stunning final form:
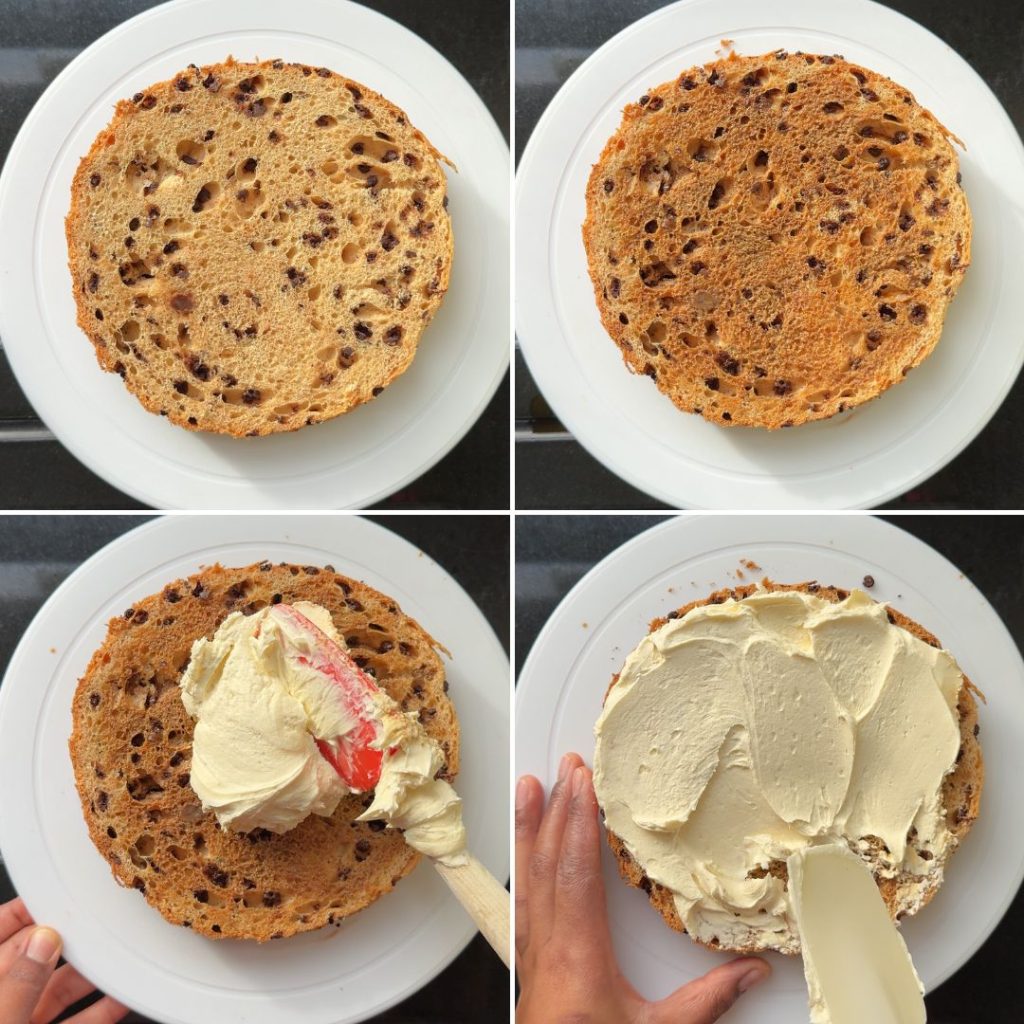
- The base layer: Start with the bottom slice of panettone, placed on a serving plate. Brush it generously with cooled coffee, ensuring the surface is evenly moistened. Spread a quarter of the mascarpone mixture over the top, smoothing it out to the edges.
- The middle layers: Repeat the process with the second and third layers, adding coffee and mascarpone in equal measure. These layers provide the structure, so take care to keep things even.
- The top layer: The domed top slice gets extra coffee to balance its thickness. Once brushed, place it domed side up and spread the remaining mascarpone filling over the top. Focus on creating a neat, polished finish, letting the natural shape of the panettone guide you.
- The finishing touch: Scatter shaved dark chocolate over the mascarpone filling. The chocolate not only looks festive but also adds a slight bitterness that cuts through the richness.
This Panettone Tiramisu is the Perfect Make-Ahead Dessert
This tiramisu is best made ahead, giving the flavours time to meld in the fridge. Two hours is the minimum, but overnight is ideal. The coffee seeps into the panettone, the mascarpone firms up, and the entire dessert becomes greater than the sum of its parts.
When it’s time to serve, bring the tiramisu straight to the table. Let your guests admire its layered beauty before diving in. There’s no need for fussy plating; this dessert is all about relaxed indulgence.
Why This Panettone Tiramisu Deserves a Spot at your Christmas Table
This Panettone Tiramisu is practical yet stunning, and more importantly than that, it’s s incredibly delicious. It’s an impressive showstopper that doesn’t require hours of prep. Its make-ahead nature means you’re free to enjoy the festivities without stressing about dessert. And because it’s served freeform, there’s no need to fuss over perfect slices or presentation.
For those of us who don’t love Christmas pudding, this Panettone Tiramisu is a revelation. It captures the spirit of the season—decadent, comforting, and a little playful—while offering a fresh alternative to the usual suspects. So this year, skip the Christmas pudding and give this panettone tiramisu a try!
The festive season is all about joy, and this dessert delivers it in spades. Whether you’re a fan of panettone or just looking for an alternative to the classic Christmas desserts, this Panettone Tiramisu has something for everyone. So grab a spoon, dig in, and make room for seconds 🙂
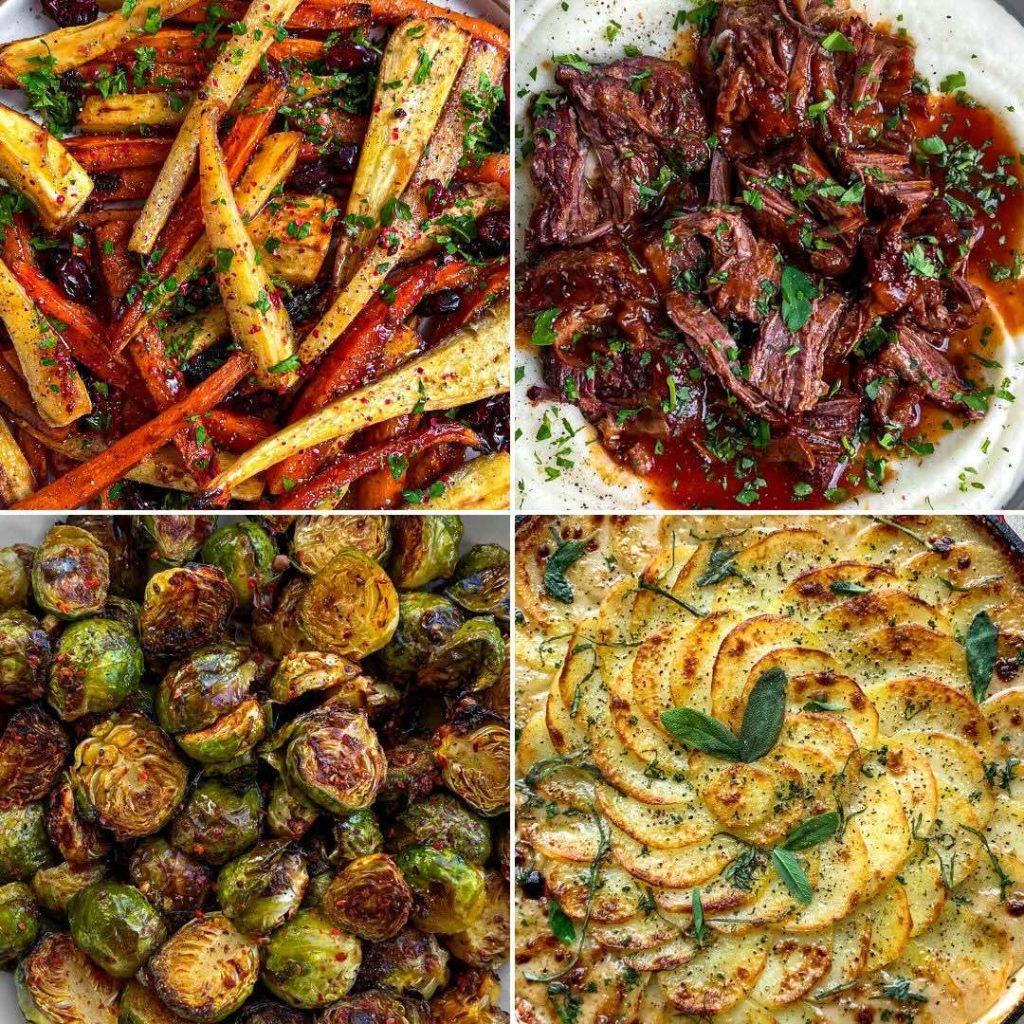
Festive Recipes for Hosting Christmas
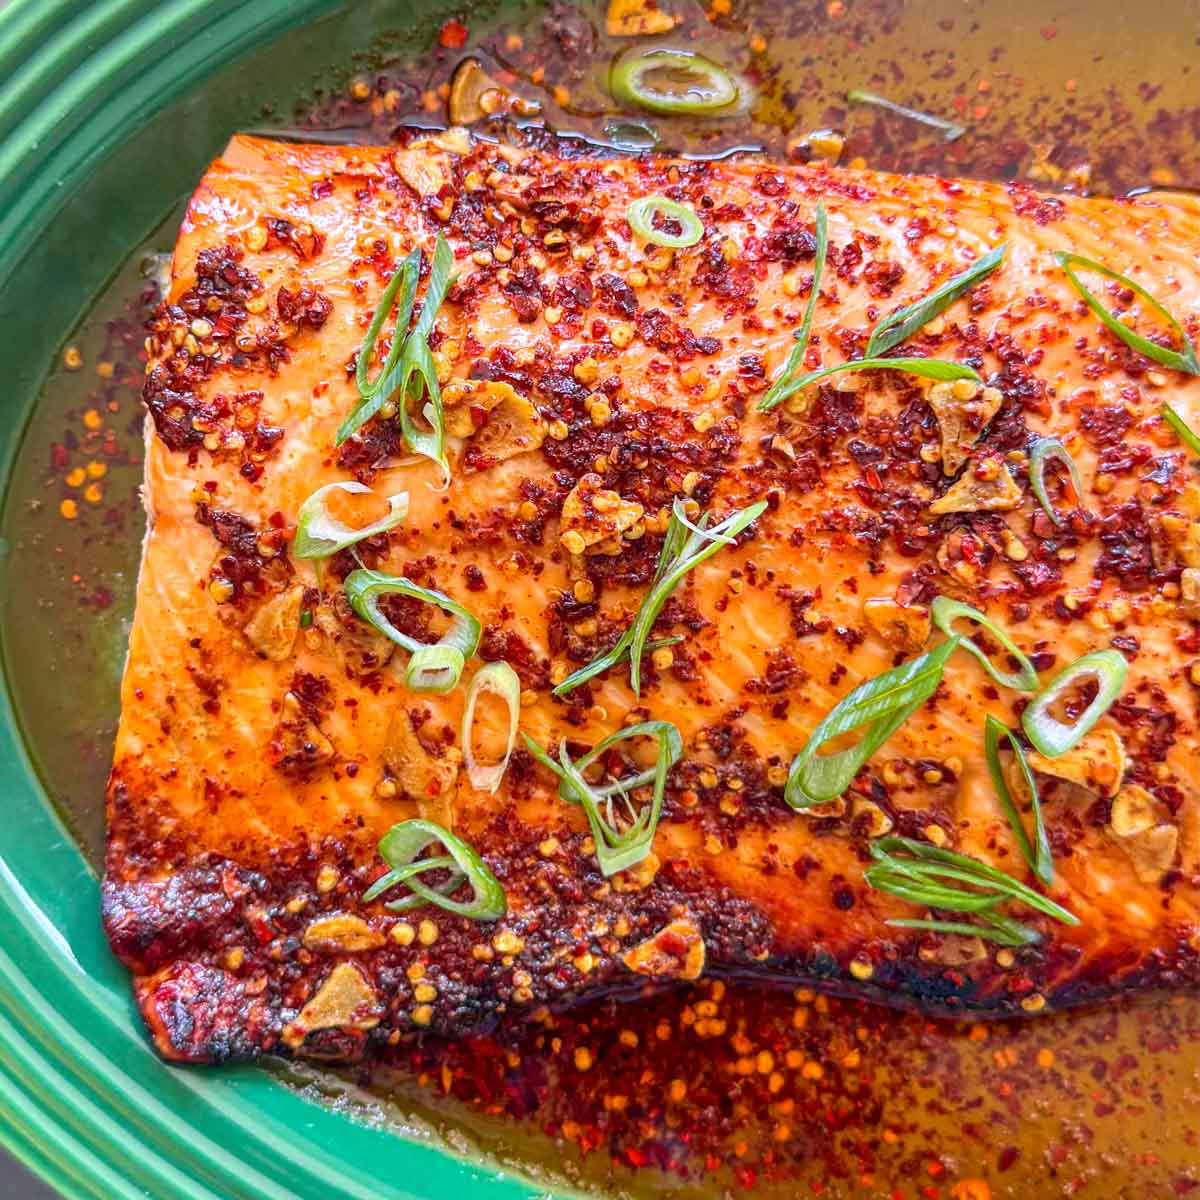
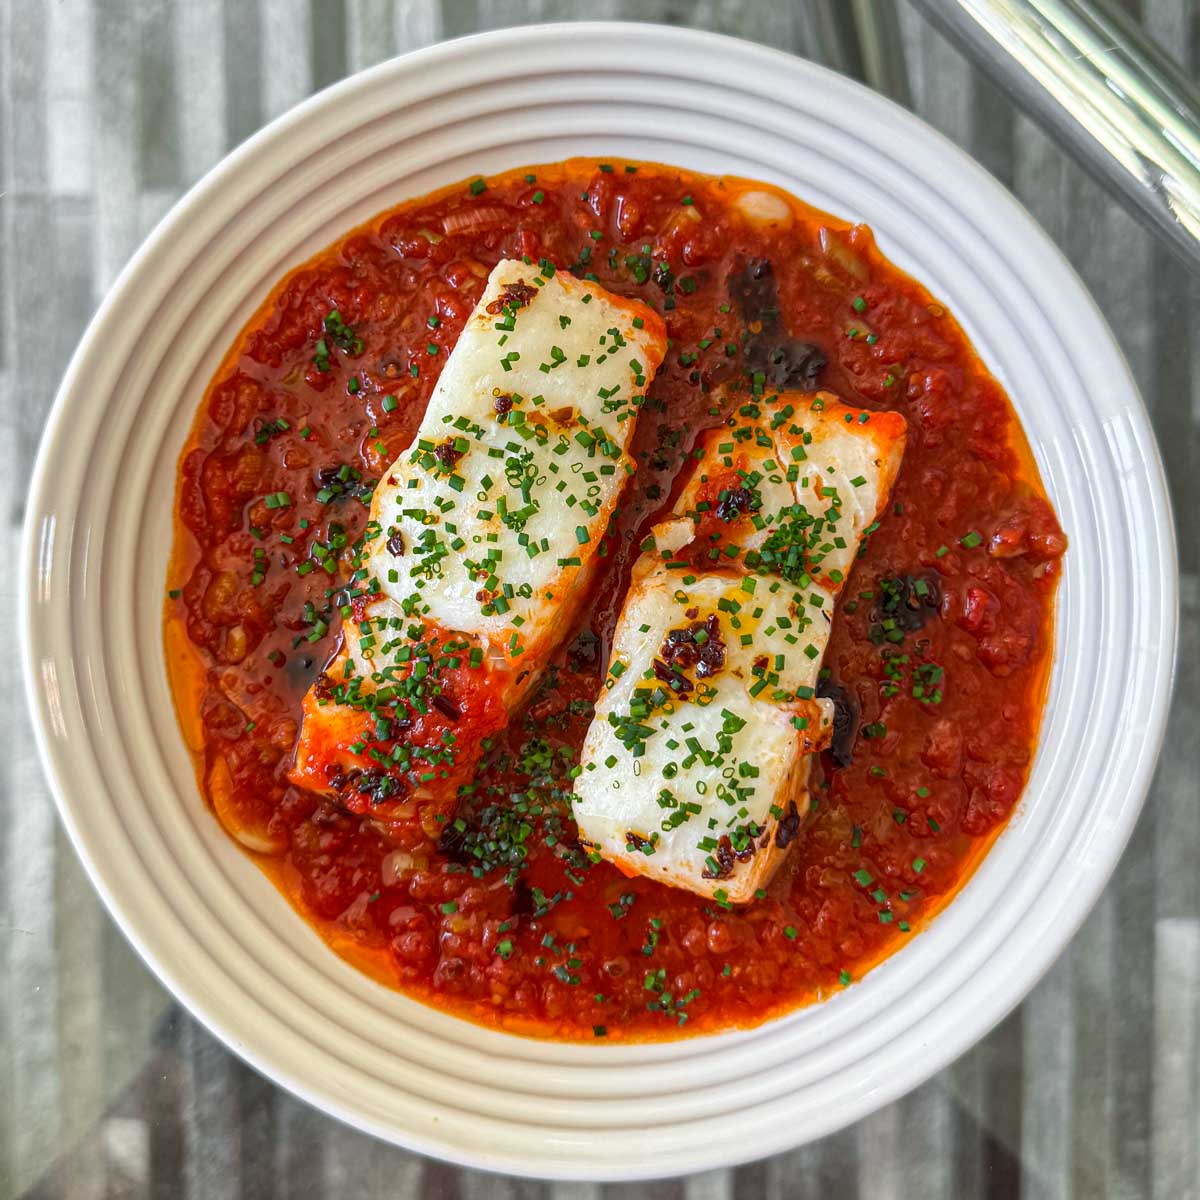
If you’re currently planning your Christmas menu, my 21 Recipe Ideas for Christmas Dinner guide has everything you need. Whether you’re planning a traditional Christmas feast or looking to surprise your guests with something a little different this year, this recipe collection has got you covered. From meaty numbers, like my Brined and Roasted Turkey Legs, to fish dishes, like my Garlic and Chilli Butter Salmon Side, to stunning veggie centrepieces, like my viral Hot Honey Brown Butter Brussels Sprouts, to desserts, like my Christmas Crumble, this guide has it all!
Panettone Tiramisu
5 Stars 4 Stars 3 Stars 2 Stars 1 Star
5 from 1 review
If, like me, you hate Christmas pudding, I have the perfect Christmas dessert for you: panettone tiramisu. It’s such a simple make-ahead dessert, so it’s great for hosting throughout the festive season.
- Author: zenak
- Prep Time: 20 minutes
- Total Time: 12 hours
- Yield: 10–12 1x
Ingredients
- 2 tbsp good-quality instant coffee granules
- 200ml boiling water
- 600g mascarpone
- 600ml double cream
- 150–200g white caster sugar (to taste)
- ½ tbsp vanilla bean paste
- 1 x 800g panettone (I used a chocolate and hazelnut one)
- 1–2 tbsp shaved or grated dark chocolate
Instructions
- Combine the coffee granules with boiling water, then set aside to cool completely.
- In the bowl of a stand mixer, whisk the mascarpone, double cream, caster sugar and vanilla bean paste on medium speed until the mixture reaches the consistency of thickly whipped cream. This should take 1-2 minutes. It will feel very thick, which is exactly what you want. Because this tiramisu is freeform (i.e. not layered in a pan or tin), the filling needs to be sturdy enough for the tiramisu to hold its shape as it sits in the fridge.
- Using a serrated knife, cut the panettone horizontally into four layers. For accuracy, I find it helpful to score the sides of the panettone first, marking the lines for each layer. Once scored, slice along the marks, starting from the top.
- Place the bottom layer of panettone on a large serving plate and generously brush with the cooled coffee. The surface should feel moist but not drenched. Spread a quarter of the mascarpone filling evenly over the top.
- Repeat this process with the second and third layers: brushing with coffee and spreading a quarter of the filling over each one.
- For the fourth and final layer (the domed top), brush the cut side with coffee. You can be more generous with this layer since it’s thicker than the rest.
- Place the final layer on top, domed side up, spreading the remaining mascarpone filling on top, focusing the spread in the centre for a neat, polished finish.
- Scatter the shaved dark chocolate over the top, then refrigerate the tiramisu for at least 2 hours, or preferably overnight, to allow the flavours to meld.
- Serve directly from the plate and enjoy.
Equipment
 Buy Now →



2 responses
This was an epic hit at my family Christmas gathering! It looked really impressive but was so quick to prepare and with minimal equipment. A word of warning though – it truly is massive and the 12 of us only got through half.
I’m so glad it was such a hit! You’re right, it is absolutely massive and especially after a big meal, it could feed a lot of people!