
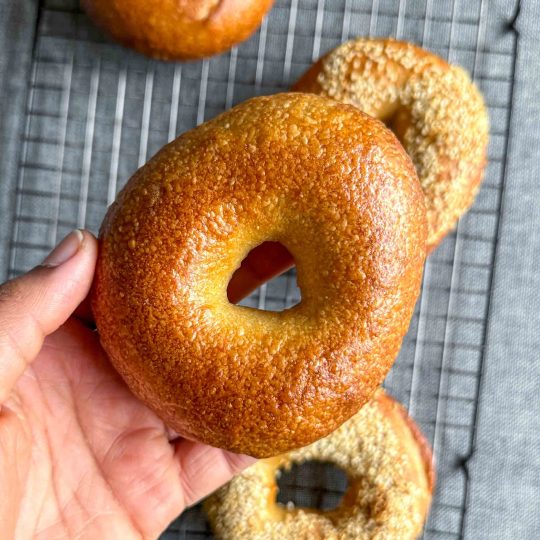
These Homemade New York Bagels are infinitely better than shop-bought ones — fresher, chewier, and far more satisfying to make. Once you get into the rhythm of shaping and boiling, you’ll see they’re easier than you might think. They just take a little time and patience, which makes them perfect for a weekend baking project.
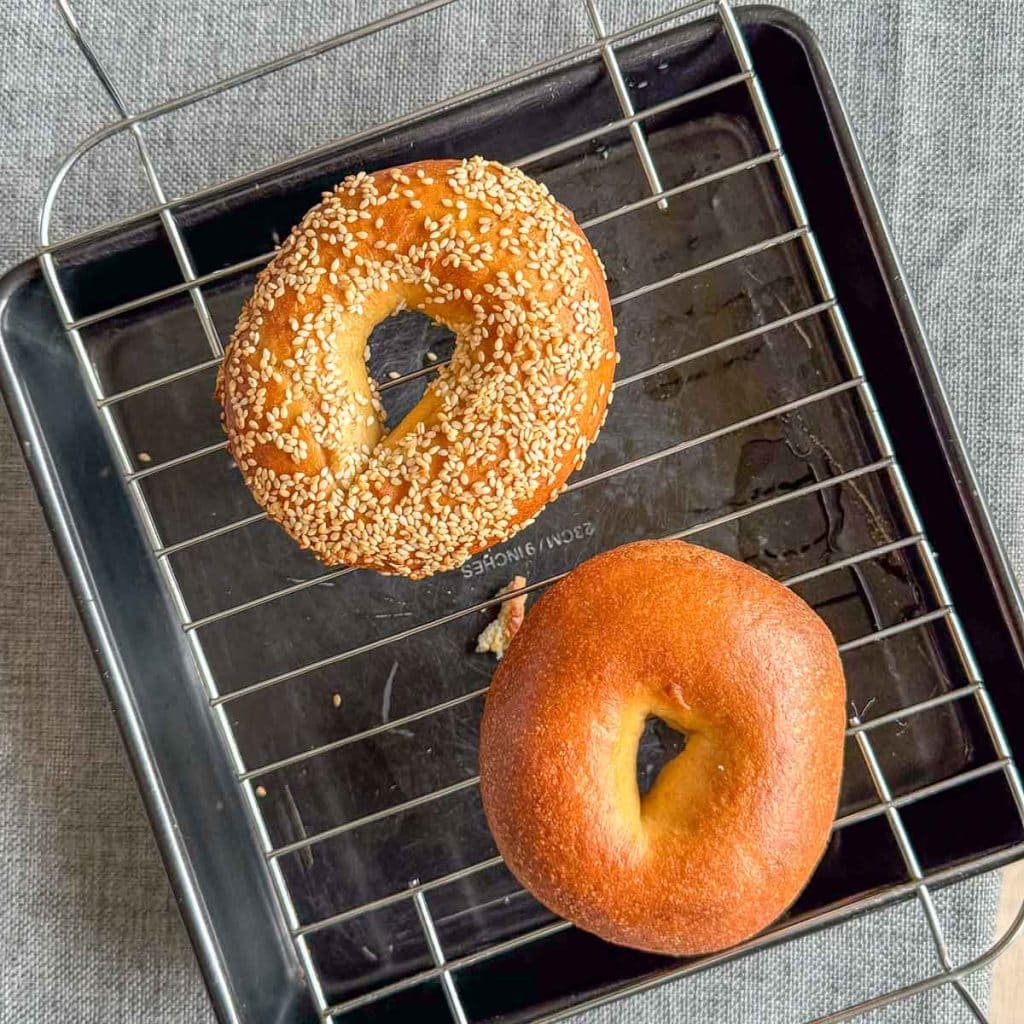
Aside from their distinct ring shape, two key factors set New York bagels apart from other breads: the boiling stage and the use of barley malt syrup. Boiling the dough before baking creates that glossy, golden crust and dense, chewy texture bagels are famous for. The malt syrup, meanwhile, gives the dough its signature deep, malty flavour. Both steps are essential for achieving a proper bakery-style result at home.
Shoutout to Claire Saffitz, Peter Reinhart and Edd Kimber whose bagel recipes helped me develop my own!

What Makes a Bagel a Bagel
At its core, a bagel is a simple bread dough — just flour, yeast, salt, and water — but it behaves differently from your average loaf. Traditional homemade New York Bagels are dense yet tender, with a shiny crust that gives way to a perfectly chewy crumb. Achieving that balance is all about technique and time.
You’ll knead a strong dough, shape it tightly, prove it slowly in the fridge overnight, then boil it briefly before baking. Each step plays a role in developing flavour, texture, and structure. If you skip one, you’ll end up with something closer to bread rolls than bagels.
Let’s Talk Flour
This Homemade New York Bagels recipe calls for strong white bread flour, which has a higher protein content than plain or all-purpose flour. That extra protein is crucial: it allows more gluten to develop during kneading, giving bagels their characteristic chew. It also makes the dough strong enough to withstand the boiling stage without collapsing or tearing.
If you can’t find bread flour, you can use plain flour, but expect a slightly softer texture and less chew. For that true New York bagel bite, strong white bread flour is worth it.
The One Ingredient That Makes New York Bagels So Unique
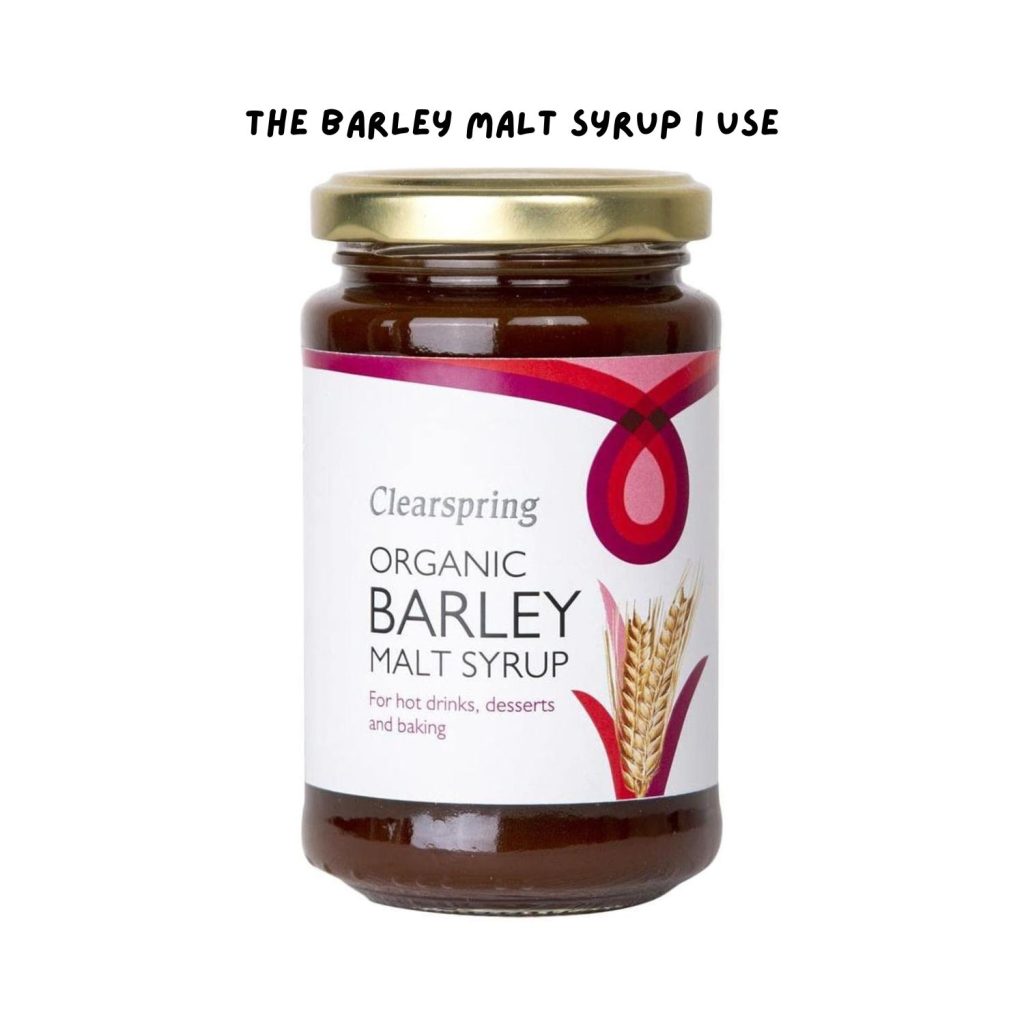
One of the defining ingredients of proper Homemade New York Bagels is barley malt syrup. It’s a sweet, sticky syrup made from sprouted barley grains and it’s what gives bagels their distinctively malty, slightly caramelised flavour. You’ll also use it to enrich the boiling water, which helps achieve that deep, golden crust.
It’s not the easiest ingredient to find, but it’s worth sourcing. In the UK, you can usually find it at health food shops like Holland & Barrett, or online. This is the one I use. If you can’t track it down, an equal amount of molasses or honey makes a decent substitute. You won’t get quite the same depth of flavour, but your bagels will still taste incredible — certainly better than anything from the supermarket.

Homemade New York Bagels Need an Overnight Prove
The key to achieving the most delicious, crispy-chewy Homemade New York Bagels is time, in the form of a long, slow, refrigerated fermentation. Letting the dough rest and ferment slowly in the fridge overnight is what creates that classic bagel flavour and texture. This process, known as cold fermentation, allows the yeast to work gradually, developing more complex flavour compounds in the dough.
The extended chill time also improves the structure of the bagel, producing a chewier crumb and a crispier crust once baked. When you boil cold, fully proved bagels, their surface sets immediately, helping them hold their shape and develop that perfect contrast between crust and crumb.
In short:
- Flavour: Proving the formed bagels in the fridge overnight allows for a slow and controlled rise, which develops more complex flavours in the dough.
- Texture: The prolonged fermentation also enhances the texture of the bagels, yielding a chewier and more satisfying bite.
- Crust: The cold fermentation process helps create a thicker, slightly crunchy crust during baking, which is characteristic of traditional New York-style bagels.

How to Cook Homemade New York Bagels
The step that truly defines a New York Bagel is the boil. Before baking, each shaped bagel is dropped into simmering water enriched with barley malt syrup. This short boil partially cooks the outer layer, forming a thin, gel-like coating that locks in moisture and prevents the bagel from rising too much in the oven. The result? A dense, chewy texture that’s unmistakably “bagel”.
The malt syrup in the water also caramelises during baking, creating that glossy, golden-brown crust. The longer you boil, the chewier the crust becomes — around 45 seconds per side is a good benchmark for a traditional New York bagel.
The Finishing Touches
Once boiled, the Homemade New York Bagels are ready for toppings. The classic choice is sesame seeds, poppy seeds, or a mix of both. For everything bagels, sprinkle a combination of sesame, poppy, garlic granules, onion flakes and coarse salt before baking. If you prefer plain bagels, simply bake them as they are — the flavour of the dough itself is enough.
Bake until golden and burnished, then cool on a wire rack for at least 30 minutes before slicing. Freshly baked bagels are best enjoyed on the day, but they also freeze beautifully. Once cooled, slice them in half and freeze in a bag — you can toast them straight from frozen for a quick breakfast.
Tips for Perfect Homemade New York Bagels
- Knead thoroughly. A well-developed dough is essential for that firm, elastic texture. You’re looking for a smooth, springy dough that passes the windowpane test.
- Shape tightly. Whether you roll and join the ends or poke a hole in the centre and stretch, ensure the shape is taut — this helps the bagels rise evenly and hold their structure.
- Don’t rush the proof. The overnight chill develops both flavour and texture.
- Boil, don’t poach. Keep the water at a steady simmer — too vigorous and they’ll toughen; too gentle and they won’t set properly.
More Easy Bread Recipes
Bread making doesn’t have to be hard; in fact, it can actually be quite therapeutic. If you’d like to try your hand at another bread recipe, here are some easy options for you:
- No-Knead Focaccia: If you find the idea of baking and/or break making daunting, this is the recipe for you! This no-knead focaccia is so easy to make and you don’t need any fancy equipment.
- Garlic Rolls: These buttery, pull-apart garlic rolls are super soft and pillowy. They’re slathered with a delicious homemade garlic herb butter and baked until nice and golden.
- Fluffy Flatbreads: These Turkish-style flatbreads are soft and pillowy, with the perfect amount of chew.
- Quick and Easy Flatbreads: If you think you can’t make bread, this recipe is for you. For one, it doesn’t actually involve any baking. And two, it’s so incredibly simple! All you need is 5 ingredients, 1 bowl and 1 pan.
Homemade New York Bagels
Homemade bagels are infinitely better than the shop-bought kind and they’re easier to make than you might think. They just take a little bit of time, which makes them perfect for a weekend baking project.
- Prep Time: 35 minutes
- Total Time: 14 hours
- Yield: 6 bagels 1x
Ingredients
For the bagel dough:
- 265g lukewarm water (it’s the same value in ml; I just find weighing more precise for an amount like this)
- 25g barley malt syrup or extract (see Notes for substitutes)
- 4g active dried yeast
- 450g strong white bread flour, plus more for dusting
- 10g fine sea salt
- neutral oil, for brushing
For assembly:
- 3 litres water
- 100g barley malt syrup or extract
- 15g bicarbonate of soda (aka baking soda)
- 10g fine sea salt
- toppings of choice: sesame seeds, poppy seeds, everything seasoning, etc. (optional)
Instructions
- In a small bowl, whisk the lukewarm water, barley malt syrup and active dried yeast until the latter two dissolve, then let sit for 5 minutes. The mixture should get foamy, or at the very least, creamy. If it doesn’t, your yeast is dead and you’ll need to start again with fresher yeast.
- In a large bowl, whisk the strong white bread flour and fine sea salt, then make a well in the middle. Add the yeast mixture and mix with a rubber spatula or wooden spoon until the dough comes together in a shaggy mass.
- Knead the dough in the bowl until it comes together in a solid mass, then turn it out onto a clean surface and knead until you have a stiff but supple and smooth dough with a barely tacky feel, 15 to 20 minutes. It’s a long time, yes, but that’s what will help develop the gluten, which in turn will yield a deliciously chewy bagel.
- Roll the dough into a ball, dust it lightly with flour and transfer to a clean large mixing bowl. Cover tightly with cling film then leave to rise at room temperature for 1 to 1 ½ hours, or until doubled in size.
- Punch down the dough to expel the air, then turn the dough out onto a clean, un-floured work surface. Divide the dough into 6 equal pieces.
- Working one at a time, and keeping the other pieces covered in cling film, form each piece into a ball by rolling it with a cupped hand. Cover the balls with a damp cloth and leave to rest for 5 minutes.
- Meanwhile, line one extra-large (45 cm x 33 cm) baking sheet, or 2 medium baking sheets, with greaseproof paper and brush very lightly with oil.
- Now it’s time to roll the bagels. There are two methods for this. The first is to poke a hole through the centre of the ball to create a doughnut shape. Gently pick the doughnut up, place both index fingers through the hole and rotate your fingers around each other, gradually stretching the hole until it’s about 5 cm in diameter.
- The second method, preferred by proper bagel makers, requires rolling the ball into a 20 cm-long rope. Apply extra pressure to both ends of the rope to thin them out slightly. Place one end of the rope in the palm of your hand and wrap the rope around the back of your hand to complete the circle, overlapping the ends by 4-5 cm. Squeeze the overlapping ends, then press the seam into the work surface and roll your hand back and forth to seal. Slip the dough ring off your hand and gently stretch it to create a hole that’s about 5 cm in diameter, evening out the thickness of the ring as you go.
- Place the formed bagels on the greaseproof-lined baking sheet(s), spacing them evenly (if you’re doubling the recipe, you’ll need double baking sheets).
- Lightly brush each bagel with oil (alternatively, you can use oil spray) and cover loosely with cling film, followed by a damp tea towel. Refrigerate overnight, or for up to 2 days.
- Place an oven rack in the centre position and heat your oven to 230℃ / fan 210℃. Preheat it for a full hour before baking the bagels – this will ensure your oven is hot enough to properly seal, set and bake the bagels.
- Fill a large Dutch oven with water and place on the stove (don’t turn it on yet). If using toppings, place your toppings on small plates ready for later.
- Take the bagels out of the fridge and check if they’re ready to boil and bake with what’s known as the “float test”. Fill a small mixing bowl with cold water. Lightly oil your hands then gently peel one of the bagels off the greaseproof-paper and transfer to the cold water. If it floats, your bagels are ready to boil and bake. Remove the bagel from the water, gently pat it dry and place back onto the greaseproof-lined tray. Note: if one bagel’s ready, they’re all ready. If it fails the float test, don’t worry. Let the bagels sit at room temperature for 20 minutes, then retest every 10 minutes until it floats.
- Cover the Dutch oven and bring the water to a boil over high heat, then lower the heat to maintain a gentle boil. Whisk in the barley malt syrup, baking soda and salt, then skim the scum that rises to the surface.
- With oiled hands, carefully transfer as many bagels as will comfortably fit in one layer to the Dutch oven, leaving enough for them to bob around. Boil for 1 minute, flipping halfway through with a slotted spoon, then transfer back to the greaseproof-lined pan, domed-side. Note: the bagels will puff up in the water then deflate once back on the tray. This is normal, don’t worry – they’ll puff back up as they bake. Repeat with the remaining bagels.
- If using toppings, gently dunk the bagels into the toppings domed-side-down and swirl to cover, then flip and place back on the greaseproof-lined baking sheet.
- Bake for 8 minutes, then rotate the baking sheet 180 degrees and bake for a further 8 minutes, or until brown. Transfer to a wire rack and cool for at least 30 minutes before slicing.
- Bagels are best the day they’re baked (no need for toasting!), but they also freeze really well. Stored in a resealable freezer bag, they’ll keep for up to a month.
Notes
An equal amount of molasses or honey is a passable substitute for barley malt syrup. Neither will impart the traditional malty flavour but your bagels will still be miles better than shop-bought ones!


5 responses
Amazing! Works very well
I’m so glad to hear it!
BEST bagels I’ve ever had!! Thanks for the great recipe
YAY! I am SO happy to hear it! It’s my absolute pleasure 🙂
My go-to bagel recipe! Make them bi-weekly and love them!