
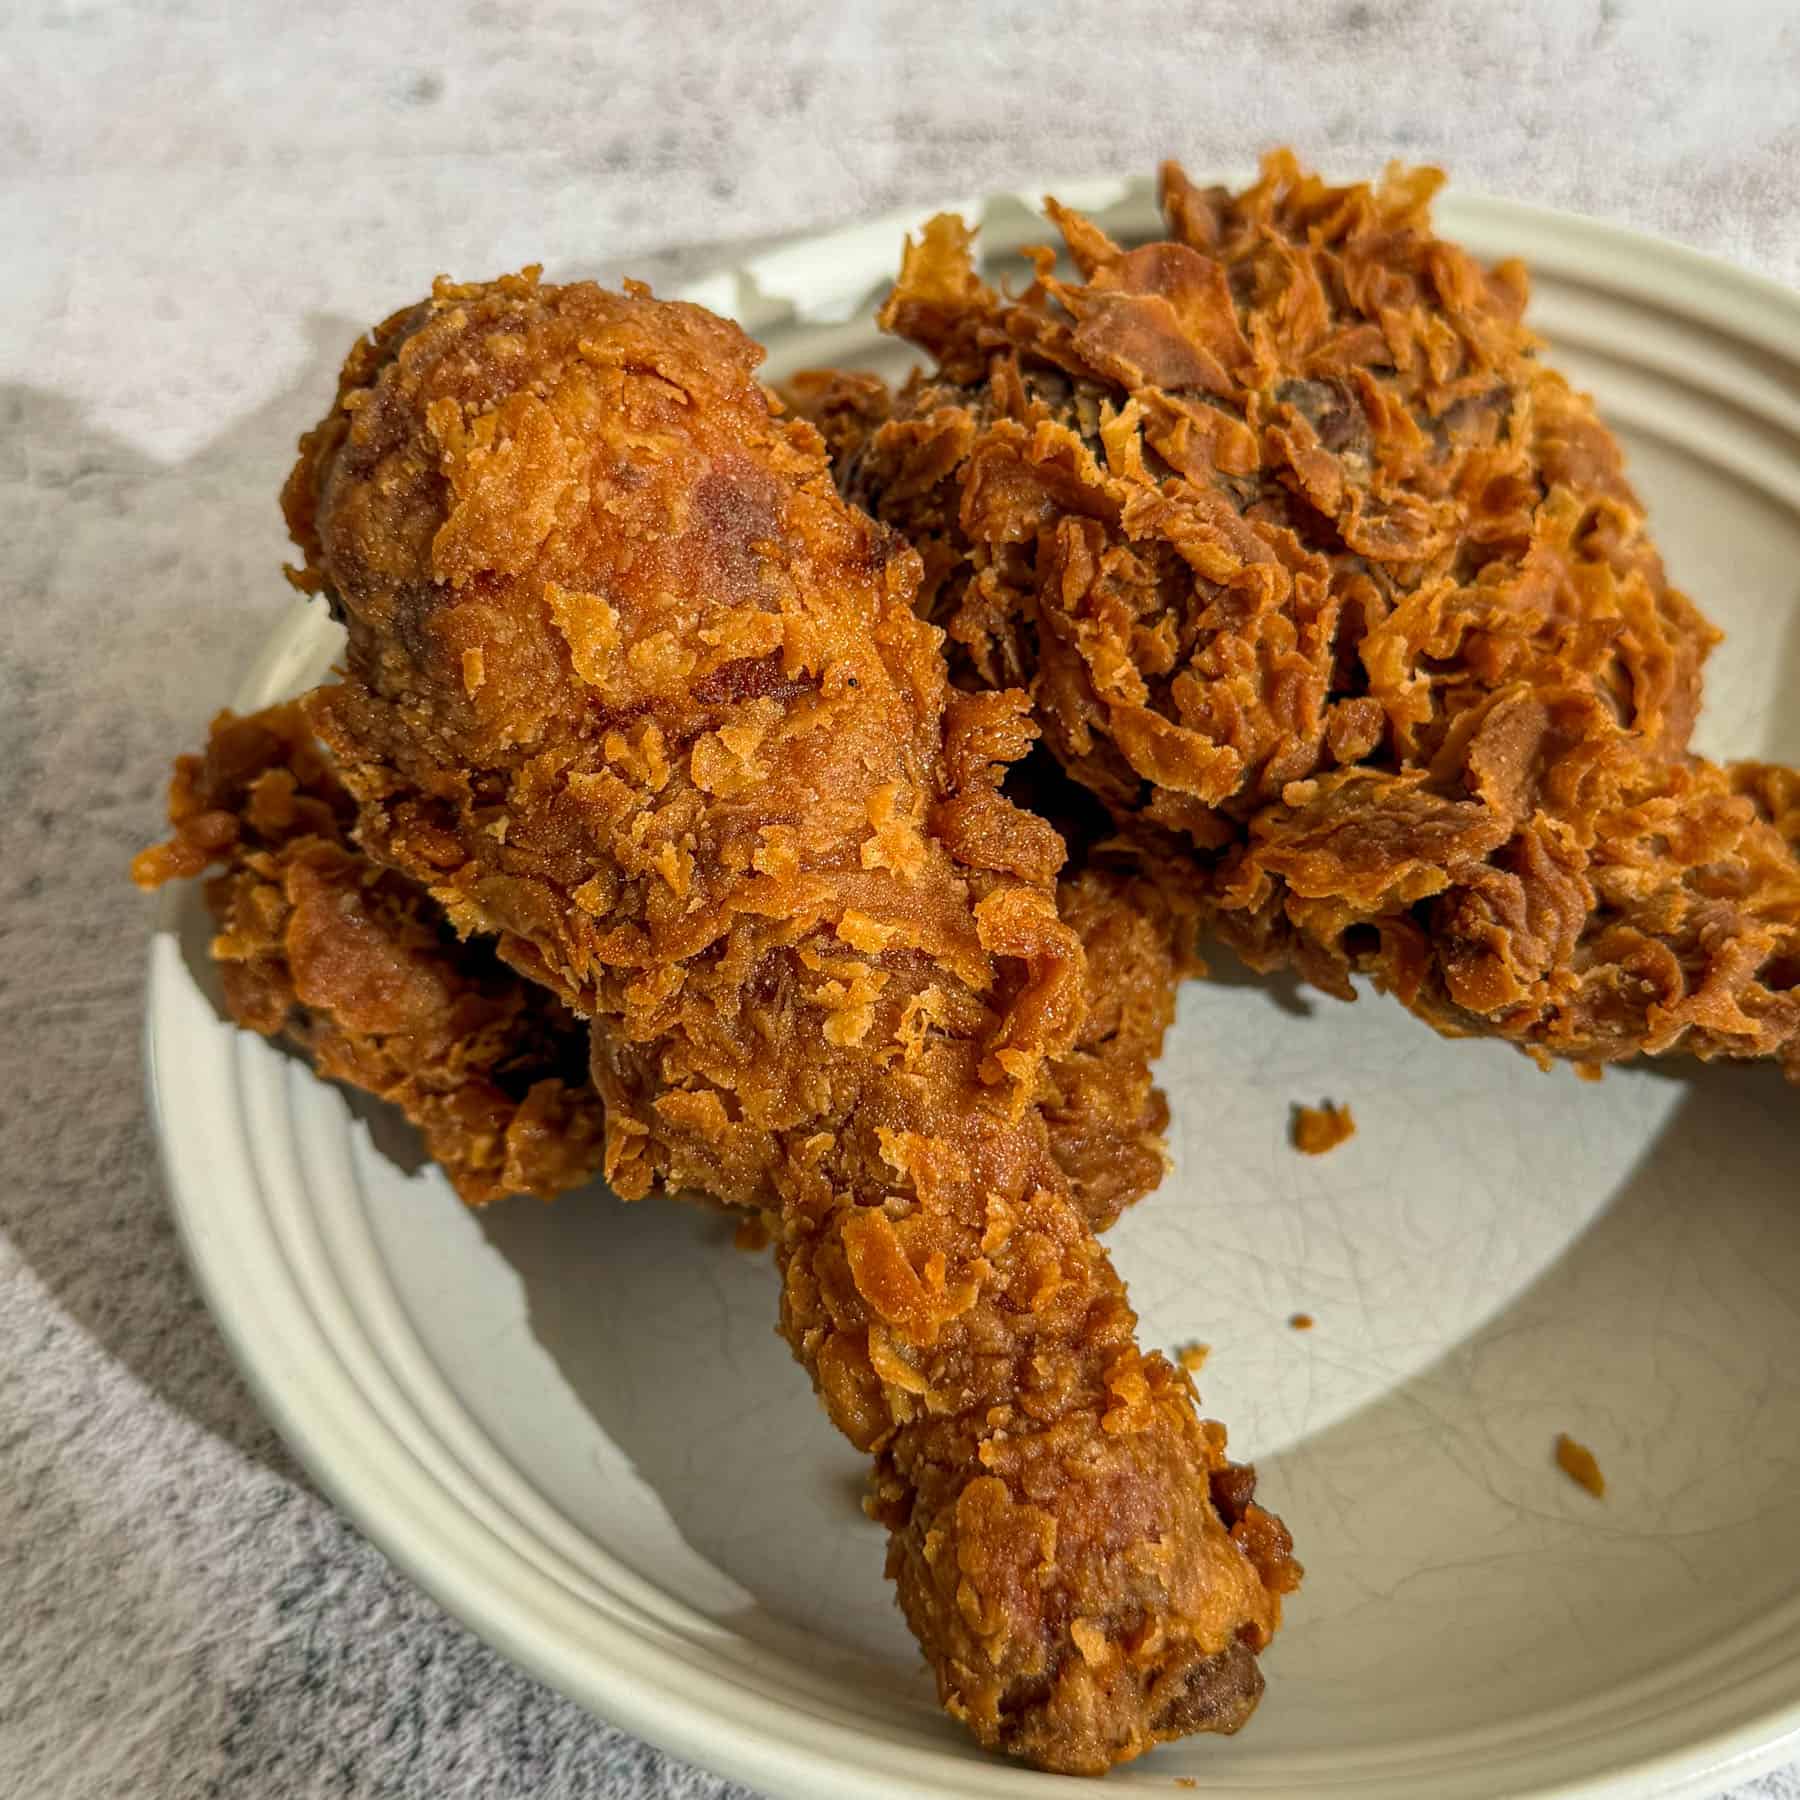
If you’re a fan of Thai flavours, you’re going to love this Tom Yum Fried Chicken. The chicken is brined overnight in a fragrant tom yum brine before being coated in a light, craggy crust and fried until perfectly crisp. The optional tom yum honey takes it to the next level, adding a glossy sweet-savoury finish that’s balanced with plenty of fresh lime.
While the ingredient list is surprisingly simple, this recipe is all about technique. From the overnight brine to the double dredge and claw coating method, every step is designed to give you juicy, flavour-packed chicken with an ultra-crispy crust. It’s well worth the extra effort.
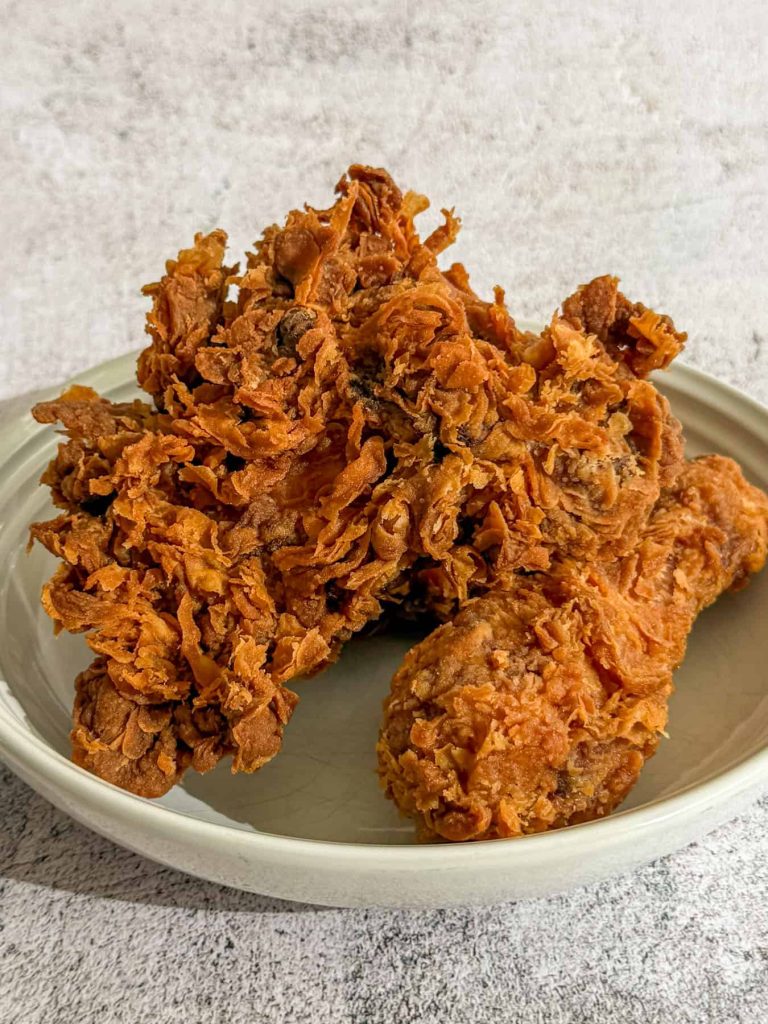
Why You’ll Love This Tom Yum Fried Chicken
- A deeply savoury tom yum brine. Brining seasons the chicken all the way through, rather than just coating the outside.
- An ultra-crispy coating. The double dredge, hydrated flour and claw technique create a light, craggy crust that’s irresistibly crisp.
- A brilliant balance of flavours. The optional tom yum honey adds sweetness and aromatic depth, while fresh lime keeps everything bright.
- Perfect for sharing. Whether you’re feeding friends or family, this is the sort of recipe everyone reaches for.
- A technique worth learning. Once you’ve mastered it, you can use the same coating method for all sorts of fried chicken.
Why Brining Makes The Best Fried Chicken
Brining is one of the easiest ways to improve fried chicken, and once you’ve tried it, it’s hard to go back.
Unlike a marinade, which mainly flavours the surface, a brine allows the seasoning to penetrate much deeper into the meat. As the chicken sits in the salted tom yum brine overnight, it absorbs both moisture and flavour, giving you chicken that’s well seasoned from the inside out while also staying juicier during frying.
This Tom Yum Fried Chicken gets its flavour from the inside out. Using tom yum paste in the brine gives those aromatic flavours time to work their way into the chicken, so every bite carries the savoury backbone of lemongrass, kaffir lime, galangal and chilli, rather than just the coating. I tend to use Mae Ploy or Thai Taste, but any good-quality tom yum paste you enjoy will work well here.
Timing is important, though. I recommend brining the chicken for at least 8 hours, but no more than 24 hours. Less than that and the seasoning won’t have enough time to penetrate the meat; much longer and the salt will begin to change the texture of the chicken, making it softer than you want.
The Secret to an Ultra-Crispy Coating
Great fried chicken is all about texture, and getting that light, craggy crust isn’t down to luck. It’s the result of a few simple techniques working together.
- Use 00 flour. I first came across this technique in one of Sohla El-Waylly’s fried chicken recipes, and I’ve used it ever since. Its finer grind creates a lighter, crispier coating than plain flour, giving the chicken an incredibly delicate crunch. Plain flour still works well, but if you’re after the crispiest possible coating, 00 flour is well worth seeking out.
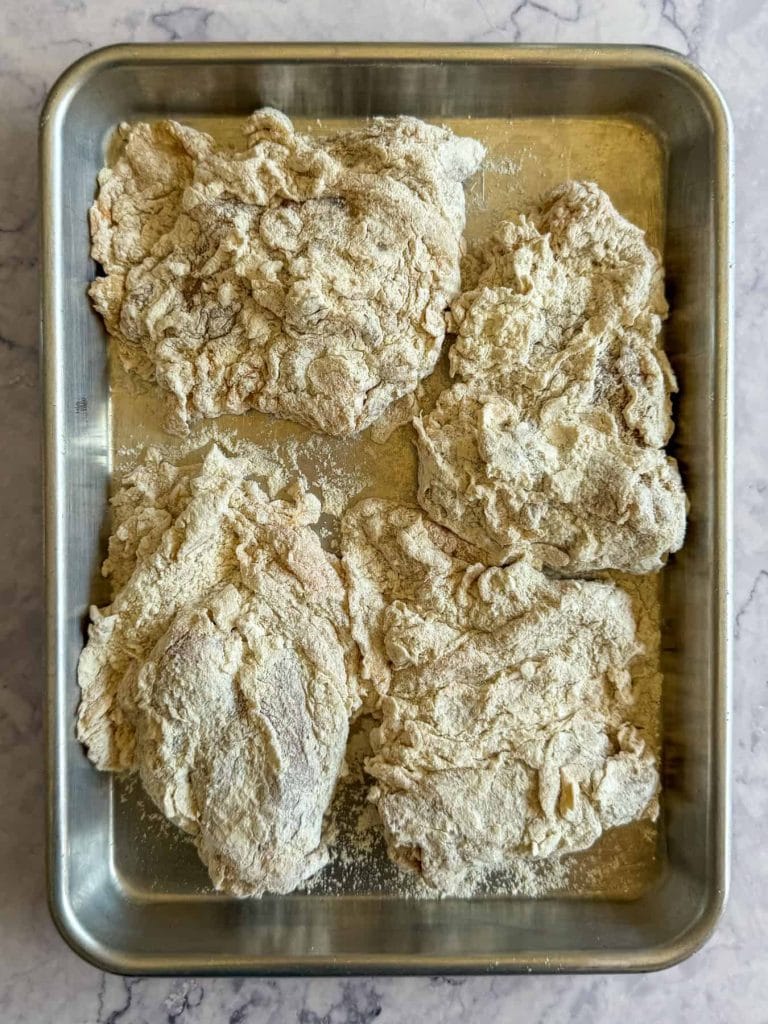
- Hydrate the flour. Before coating the chicken, drizzle a little of the reserved brine into the flour and toss it through with your fingertips. Those little clumps of hydrated flour become the wonderfully crispy craggy bits once fried.
- Double dredge the chicken. Coating the chicken in flour, dipping it back into the brine and then coating it again builds up a thicker crust with lots of texture. It takes a little longer, but the difference is well worth it.
- Use the claw method. Rather than simply tossing the chicken in the flour, shape your hand like a claw and firmly press the flour onto each piece. This creates an uneven surface with plenty of little ridges, all of which fry up beautifully crisp.
- Don’t rush it. It’s tempting to move quickly when coating lots of chicken, but spending a few extra seconds pressing the flour onto each piece makes a noticeable difference to the finished crust.
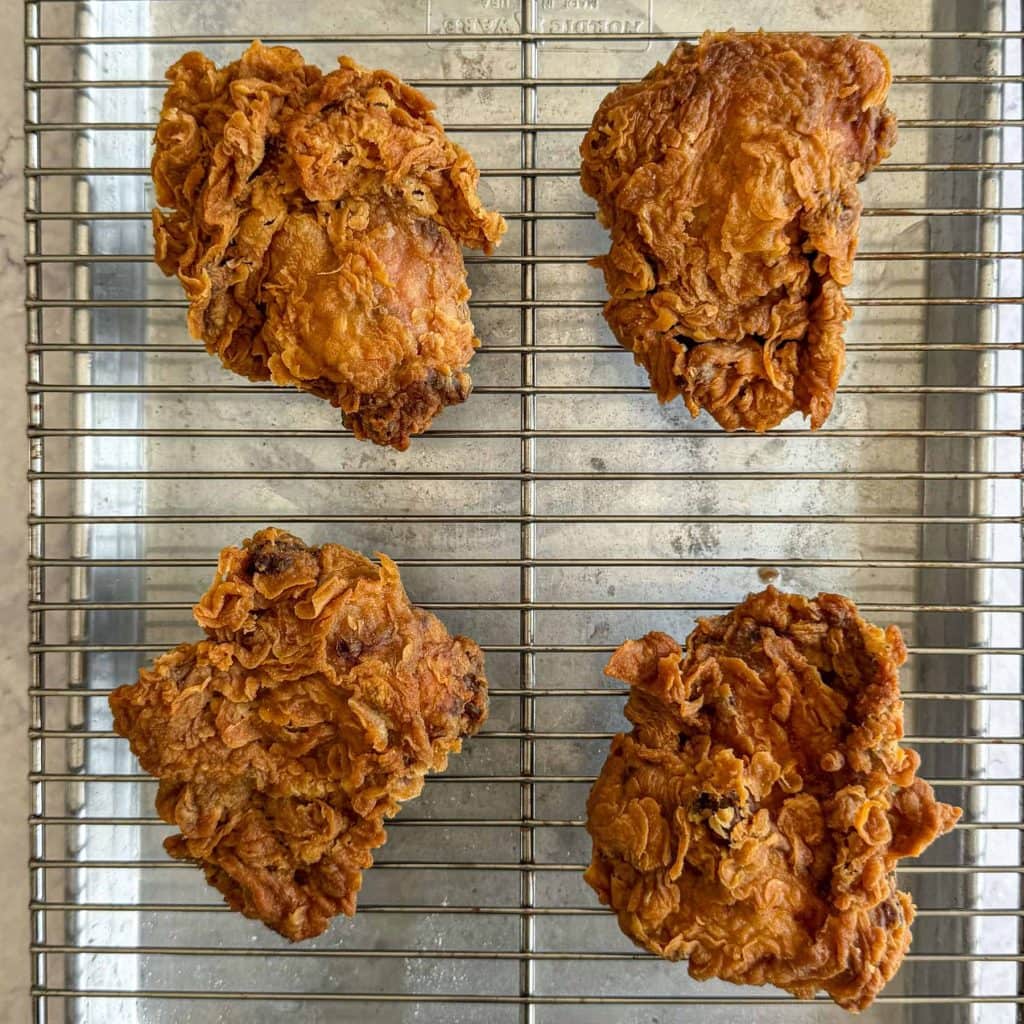
Frying Tom Yum Fried Chicken Without Fear
Deep-frying can feel a little intimidating, but it’s actually very straightforward once you understand a few key principles. Get these right and you’ll be rewarded with beautifully crisp, golden chicken every time.
- Keep the oil at 160°C. This is the sweet spot for this recipe. If the oil is too cool, the coating will absorb oil and become greasy; too hot and it’ll brown before the chicken is cooked through. A digital thermometer is the easiest way to keep the temperature steady.
- Don’t overcrowd the pan. Adding too much chicken at once causes the oil temperature to drop dramatically. Fry in batches so each piece has enough room to crisp up properly.
- Let the oil recover between batches. After each batch, allow the oil to return to 160°C before adding more chicken.
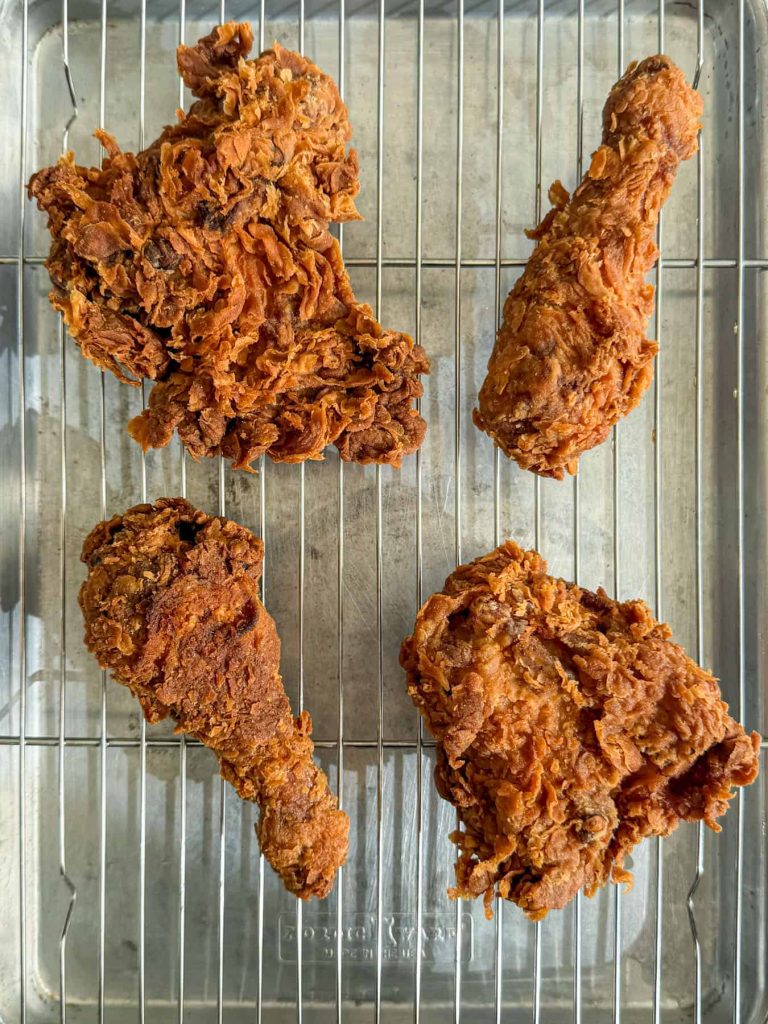
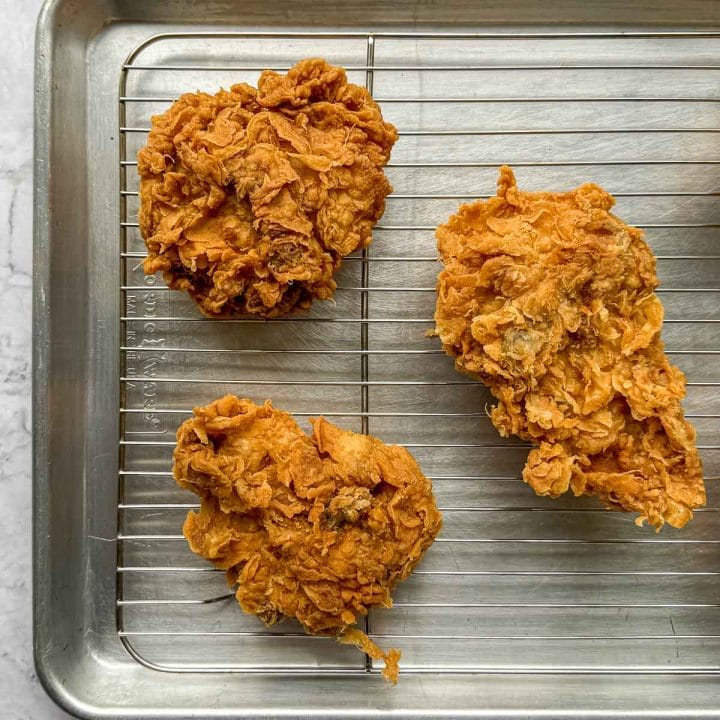
- Drain on a wire rack. Rather than draining the chicken on kitchen paper, transfer it to a wire rack set over a baking tray. Air can circulate all around the chicken, helping the coating stay crisp.
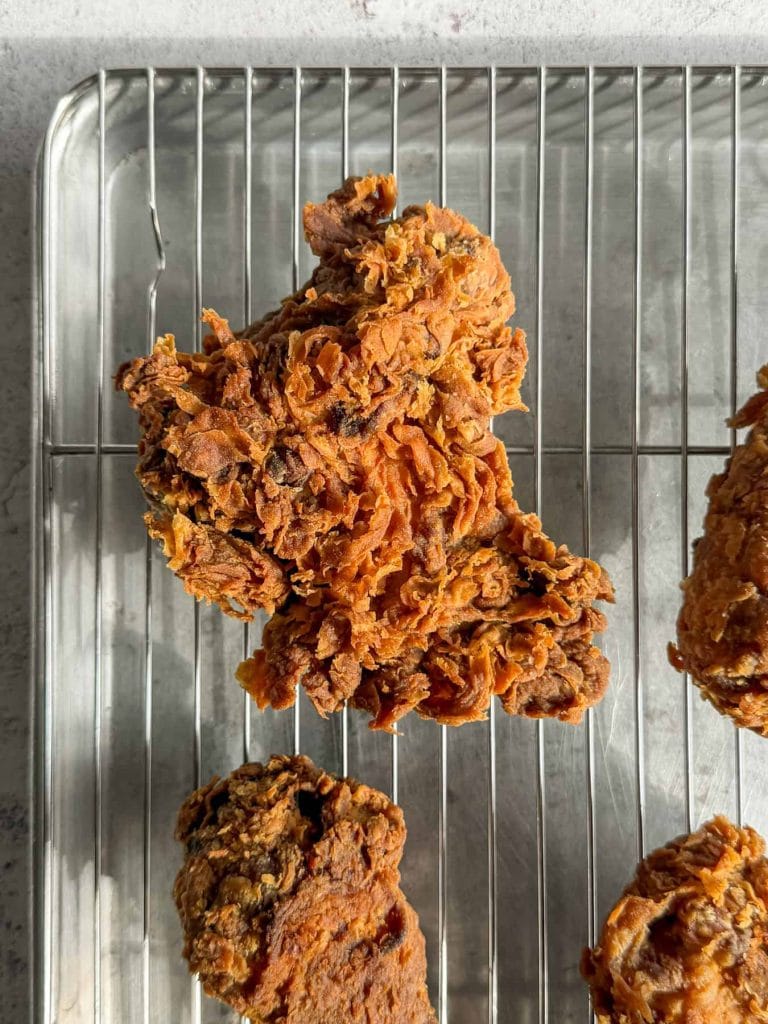
Tom Yum Honey: The Finishing Touch
The Tom Yum Fried Chicken is delicious on its own, but the tom yum honey takes it in a completely different direction.
Unlike a classic hot honey, which is all about heat, this version is more balanced. The honey brings sweetness, the tom yum paste adds savoury depth and aromatic spice, while the lime zest perfumes everything with fresh citrus oils. It’s a simple combination, but one that works brilliantly with the crispy coating and juicy chicken.
That said, I wouldn’t skip serving the chicken with lime wedges. A generous squeeze of fresh lime over the top lifts the richness of the fried chicken and brings all those familiar tom yum flavours back into focus.
What to Serve with Tom Yum Fried Chicken
This Tom Yum Fried Chicken is substantial enough to serve on its own, but it also pairs beautifully with a few simple sides. Some of my favourites include:
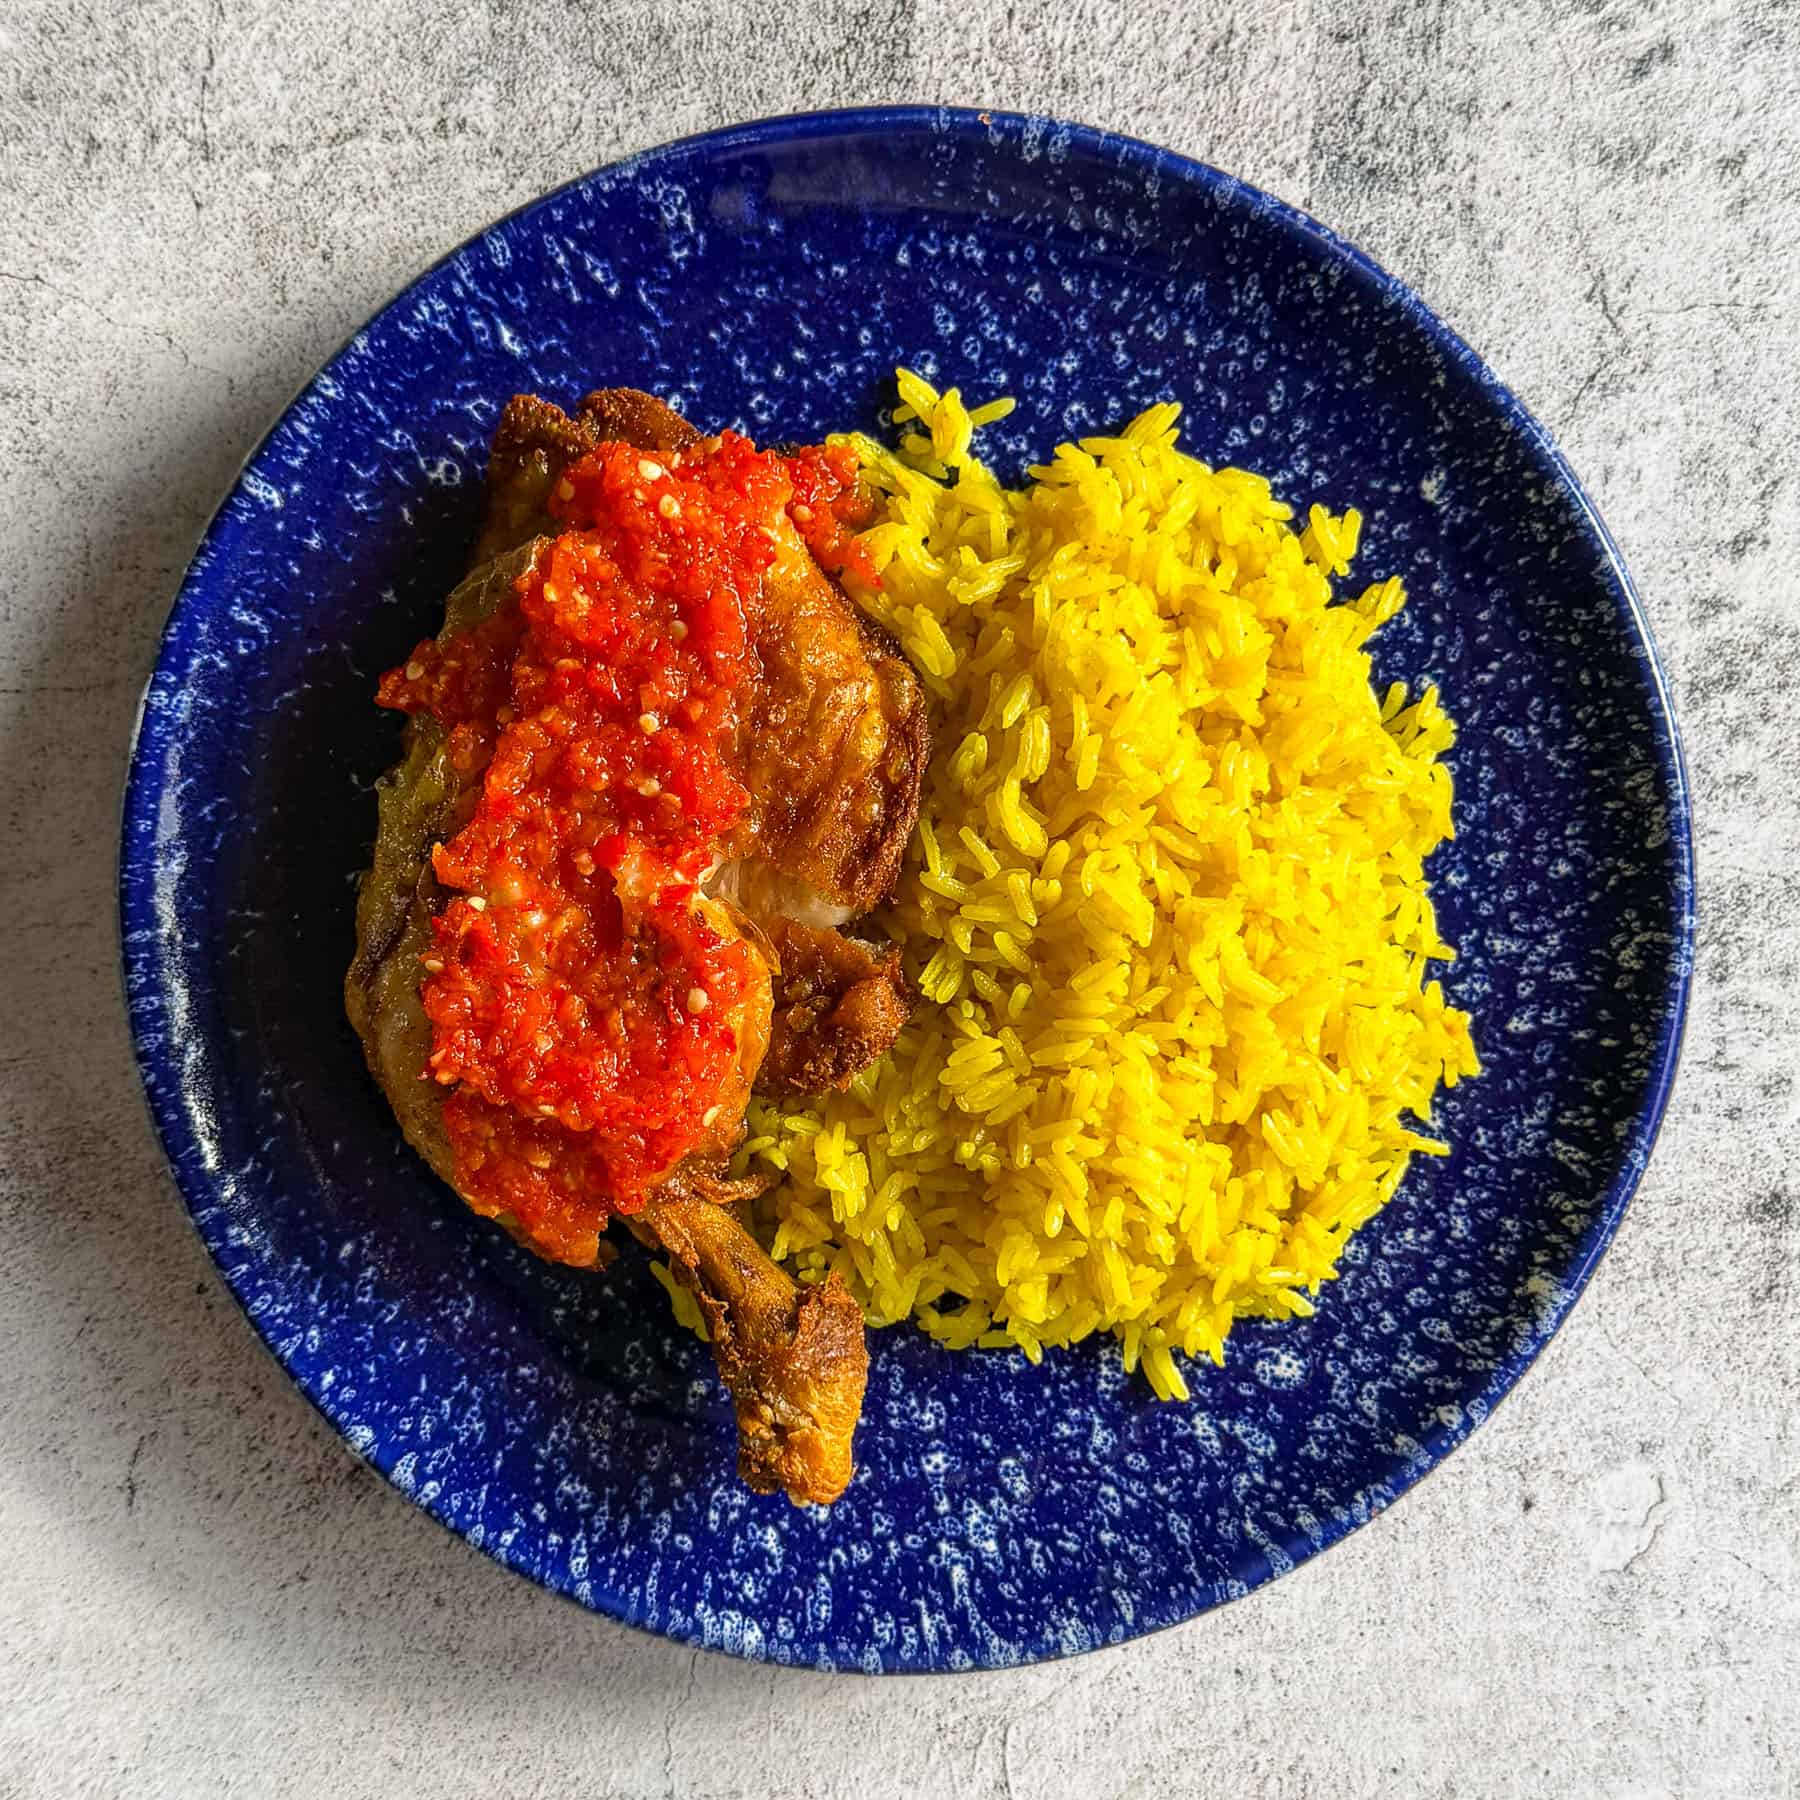
- Coconut Rice, which echoes the Southeast Asian flavours beautifully.
- Spicy Smashed Cucumber Salad, for freshness, crunch and a little heat.
- A Thai-inspired slaw, with cabbage, herbs and a sharp lime dressing.
- Plenty of fresh lime wedges, for squeezing over just before serving.
If you’re serving it as part of a bigger spread, it also works brilliantly alongside other Thai-inspired dishes and makes a fantastic addition to a sharing table.
Frequently Asked Questions
Can I use boneless chicken?
Yes. Boneless chicken thighs work particularly well, though they’ll cook more quickly than bone-in pieces. Start checking them after around 10 to 12 minutes.
Can I use chicken breast?
You can, but I personally prefer using thighs or drumsticks. Dark meat stays much juicier during frying and has a richer flavour, making it much more forgiving than chicken breast.
Can I make Tom Yum Fried Chicken ahead of time?
Fried chicken is always at its crispiest straight from the fryer, but leftovers reheat surprisingly well. Place them on a wire rack over a baking tray and bake at 180°C for 10 to 12 minutes, or until piping hot and crisp again.
Can I make the tom yum honey in advance?
Yes. You can make it a day or two ahead and keep it in the fridge. Warm it gently before serving so it becomes pourable again.
Can I reuse the frying oil?
Yes, provided it hasn’t overheated or burnt. Allow it to cool completely, strain it through a fine sieve lined with kitchen paper or muslin, then store it in a sealed container for future frying.
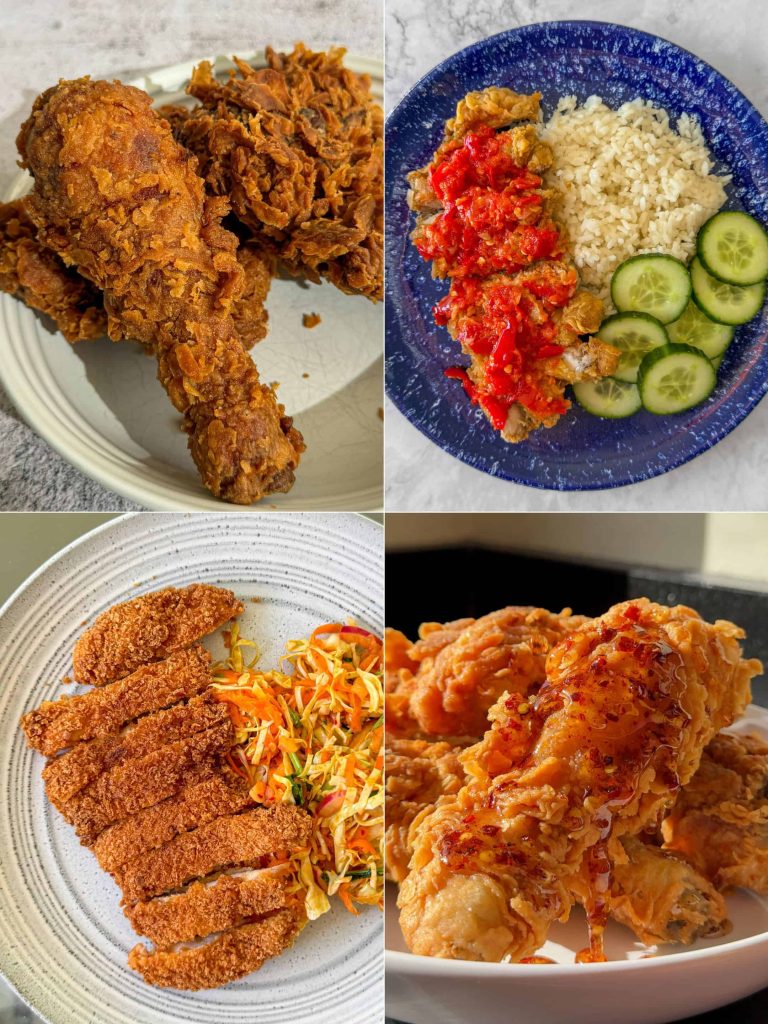
More Fried Chicken Recipes You’ll Love
I love fried chicken. In fact, I’d go as far as saying it’s one of my favourite things to cook. Over the years I’ve shared quite a few fried chicken recipes on Zena’s Kitchen, each inspired by different cuisines and techniques. If you enjoyed this Tom Yum Fried Chicken, here are a few more favourites to add to your list:
- Lemongrass Fried Chicken – Another Southeast Asian-inspired favourite, where fragrant lemongrass takes centre stage in an incredibly flavourful fried chicken.
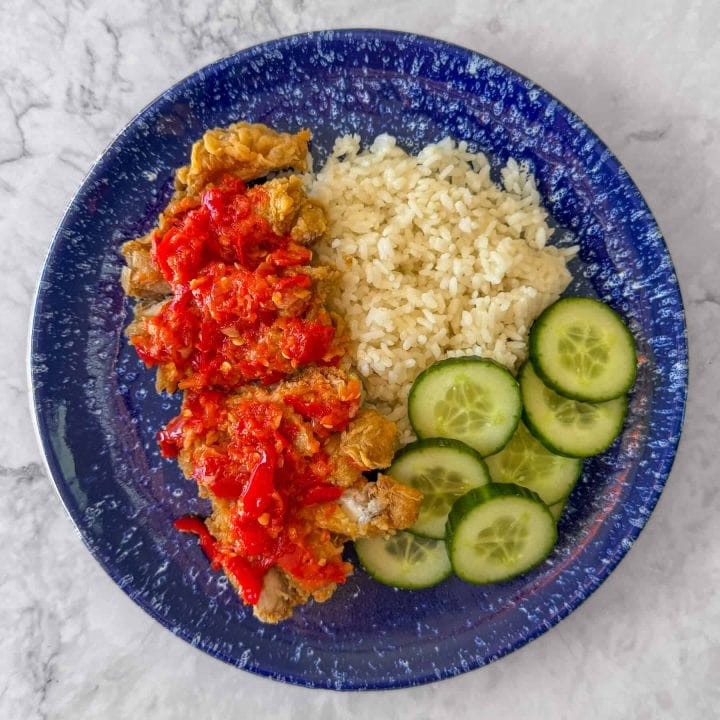
- Ayam Geprek (Indonesian Smashed Fried Chicken) – Extra-crispy fried chicken served with a fiery Indonesian sambal for those who like things spicy.
- Crispy Coconut Chicken – Crispy chicken coated in coconut for an irresistible sweet, nutty crunch.
- Chicken Katsu – My take on the Japanese classic, served with a rich homemade katsu curry sauce.
- Kimchi Chicken Katsu – Everything you love about chicken katsu with the bold, tangy flavours of kimchi.
- Chicken Parm – Crispy breaded chicken topped with tomato sauce and bubbling melted cheese for the ultimate comfort food.
Tom Yum Fried Chicken
If you’re a fan of Thai flavours, you’re going to love this Tom Yum Fried Chicken. Chicken is brined overnight in a fragrant tom yum brine before being coated in a light, craggy crust and fried until perfectly crisp. The optional tom yum honey takes it to the next level, adding a glossy sweet-savoury finish that’s balanced with plenty of fresh lime.
- Prep Time: 20 minutes
- Total Time: 1 hour
- Yield: 4 to 6 1x
Ingredients
For the chicken:
- 4 tbsp good-quality tom yum paste (I use Mae Ploy)
- 4 tsp salt
- 1 litre water
- 1kg chicken thighs and/or drumsticks
For the coating:
- 450g 00 flour (or plain flour, see note)
- 1 tsp salt
- vegetable oil, for deep-frying
For the tom yum honey (optional):
- 100g runny honey
- 2 tsp good-quality tom yum paste
- zest of 2 limes (save the juice or lime wedges for serving)
Instructions
- Place the tom yum paste, salt and water in a large mixing bowl and whisk until smooth. Add the chicken and turn to coat well. Cover and refrigerate overnight, or for up to 24 hours. Any longer and the chicken will over-brine, becoming too salty and losing its texture.
- Remove the chicken from the fridge 30 minutes before frying to take the chill off.
- Half-fill a large, deep saucepan or Dutch oven with vegetable oil and heat over a medium-high heat to 160°C. Set a wire rack over a large baking tray – this is where the cooked chicken will rest, allowing air to circulate and keeping it crisp.
- Meanwhile, combine the flour and salt in a large mixing bowl.
- Lift the chicken from the brine and transfer it to a tray or plate, reserving the brine. Drizzle 1 to 2 tablespoons of the reserved brine into the flour mixture and toss gently with your fingertips until small clumps start to form. These little clumps of hydrated flour are the secret to an extra-crispy, craggy coating.
- Working with one piece of chicken at a time, coat it in the flour mixture using your “dry” hand. Shape your hand like a claw and press the flour firmly onto the chicken so it adheres and forms a textured surface. Shake off any excess, then use your “wet” hand to dip the chicken into the reserved brine, letting any excess drip off. Return it to the flour mixture and repeat the claw motion to coat thoroughly. Take your time here – pressing the flour firmly onto the chicken is what creates those light, craggy edges that fry up beautifully. Transfer the coated chicken to a tray and repeat with the remaining pieces.
- Once the oil reaches 160°C, carefully lower a few pieces of chicken into the oil, taking care not to overcrowd the pan. Fry for 15 to 18 minutes, depending on the size of the pieces, turning halfway through, or until deeply golden brown and cooked through. Transfer to the wire rack while you fry the remaining chicken in batches. If needed, keep the cooked chicken warm in a 120°C oven.
- Meanwhile, make the tom yum honey. Combine the honey, tom yum paste and lime zest in a small saucepan set over a medium heat. Bring to a gentle simmer, stirring until smooth, then remove from the heat and leave to infuse for at least 10 minutes.
- Drizzle the tom yum honey over the fried chicken just before serving with plenty of lime wedges on the side for squeezing over.
Notes
- 00 flour creates a lighter, crispier coating than plain flour thanks to its finer grind. Plain flour will still give you delicious fried chicken, but the coating will be slightly heavier.
- Brining time matters. Less than 8 hours won’t season the chicken deeply enough, while more than 24 hours can make it overly salty and soften its texture.
- To reheat, place the chicken on a wire rack set over a baking tray and bake at 180°C for 10 to 12 minutes, or until piping hot and crisp again.



2 responses
Incredible method! Your method creates excellent fried chicken and i will officially be using this method from now on and i love the flavor combos!
Ahh thank you so much! I’m so glad you enjoyed it 🙂